How to Weave in Ends in Crochet So They Never Pop Out
Leave a 6-inch tail, weave in three directions and split the plies on the way back. The secure, invisible way to weave in ends — for blankets, garments and amigurumi.

Pattern at a glance
US terms- Skill level
- Beginner
- Yarn
- Any
- Hook
- Tapestry needle (blunt, large eye)
- Time
- 10 minutes to learn
In this post
Nothing ruins a finished blanket faster than a tail that works its way out after the first wash. Ends come loose when they're woven in a straight line through one row: tension pulls them straight back out. The cure is to change direction. A tail that zigzags through the fabric has nowhere to go.
The rest of this post is just below — free, as always.
The three-direction method
- Step 1 — Leave enough tail: at least 6 in (15 cm) when you cut. Shorter tails are frustrating to weave.
- Step 2 — Thread a tapestry needle: a blunt needle with a large eye slides between stitches without splitting them.
- Step 3 — Go one way: on the wrong side, weave the tail through the backs of stitches for about 1 in (2.5 cm).
- Step 4 — Turn back: reverse direction and weave back the way you came, through different loops, for ½ in.
- Step 5 — Change again: go a third direction (up or down a row) for another ½ in, splitting the plies of the yarn as you go.
- Step 6 — Trim: stretch the fabric gently so the tail settles, then cut close to the surface.
Tricky situations
- Slippery yarns (cotton, bamboo, silk): split the plies on every pass. The yarn grips itself and can't slide.
- Lacy or open fabric: weave along the solid parts — the posts of stitches — never across open chains.
- Colour changes: weave each tail into stitches of its own colour so it doesn't show through.
- Amigurumi: push the needle in next to the tail, out through the opposite side of the piece, pull snug and trim. The tail disappears inside the stuffing.
Weave fewer ends
- Crochet over tails: lay tails along the top of the row and work stitches around them — see changing colours.
- Carry yarn up the side for narrow stripes.
- Join as you go with granny squares — see joining granny squares.
- Weave as you go: weave every 10 squares, not all 120 at the end.
Common questions
How long should a yarn tail be?
At least 6 inches (15 cm) for weaving in, and longer — 12–20 inches — if you'll use it to sew pieces together.
Can I use a knot instead of weaving in?
Knots in the middle of fabric can loosen and show on the right side. They're fine hidden inside amigurumi.
Should I weave in before or after blocking?
Weave in before blocking, but trim the tails after blocking, once the fabric has relaxed into its final shape.
Weaving in ends: relaxing or the worst part? Be honest. 😅
Did you make this?
Tap a star to rate this pattern — it helps other makers find it.
Be the first to rate it!
YarnBloom
Crochet patterns & tutorials
YarnBloom shares cozy, beginner-friendly crochet patterns written in clear US terms, with a stitch count on every round and tips for the tricky bits. Grab your hook — let’s make something lovely.
You might also love
Crochet Hook Sizes: The Complete Chart (mm, US and UK)
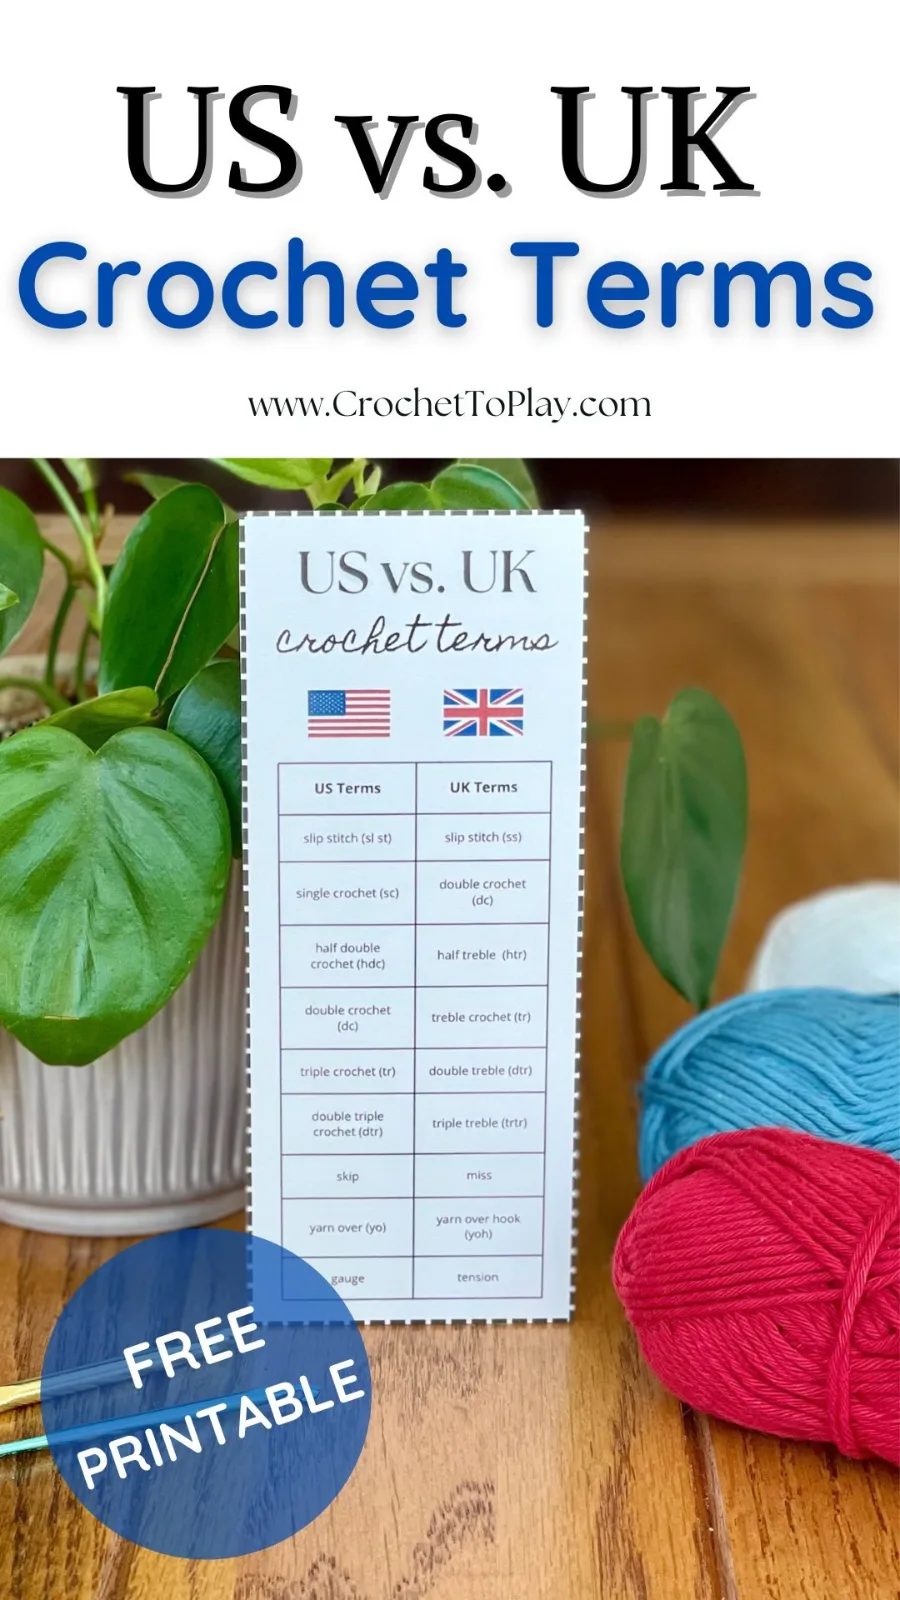
How to Read a Crochet Pattern: US vs UK Terms Made Simple
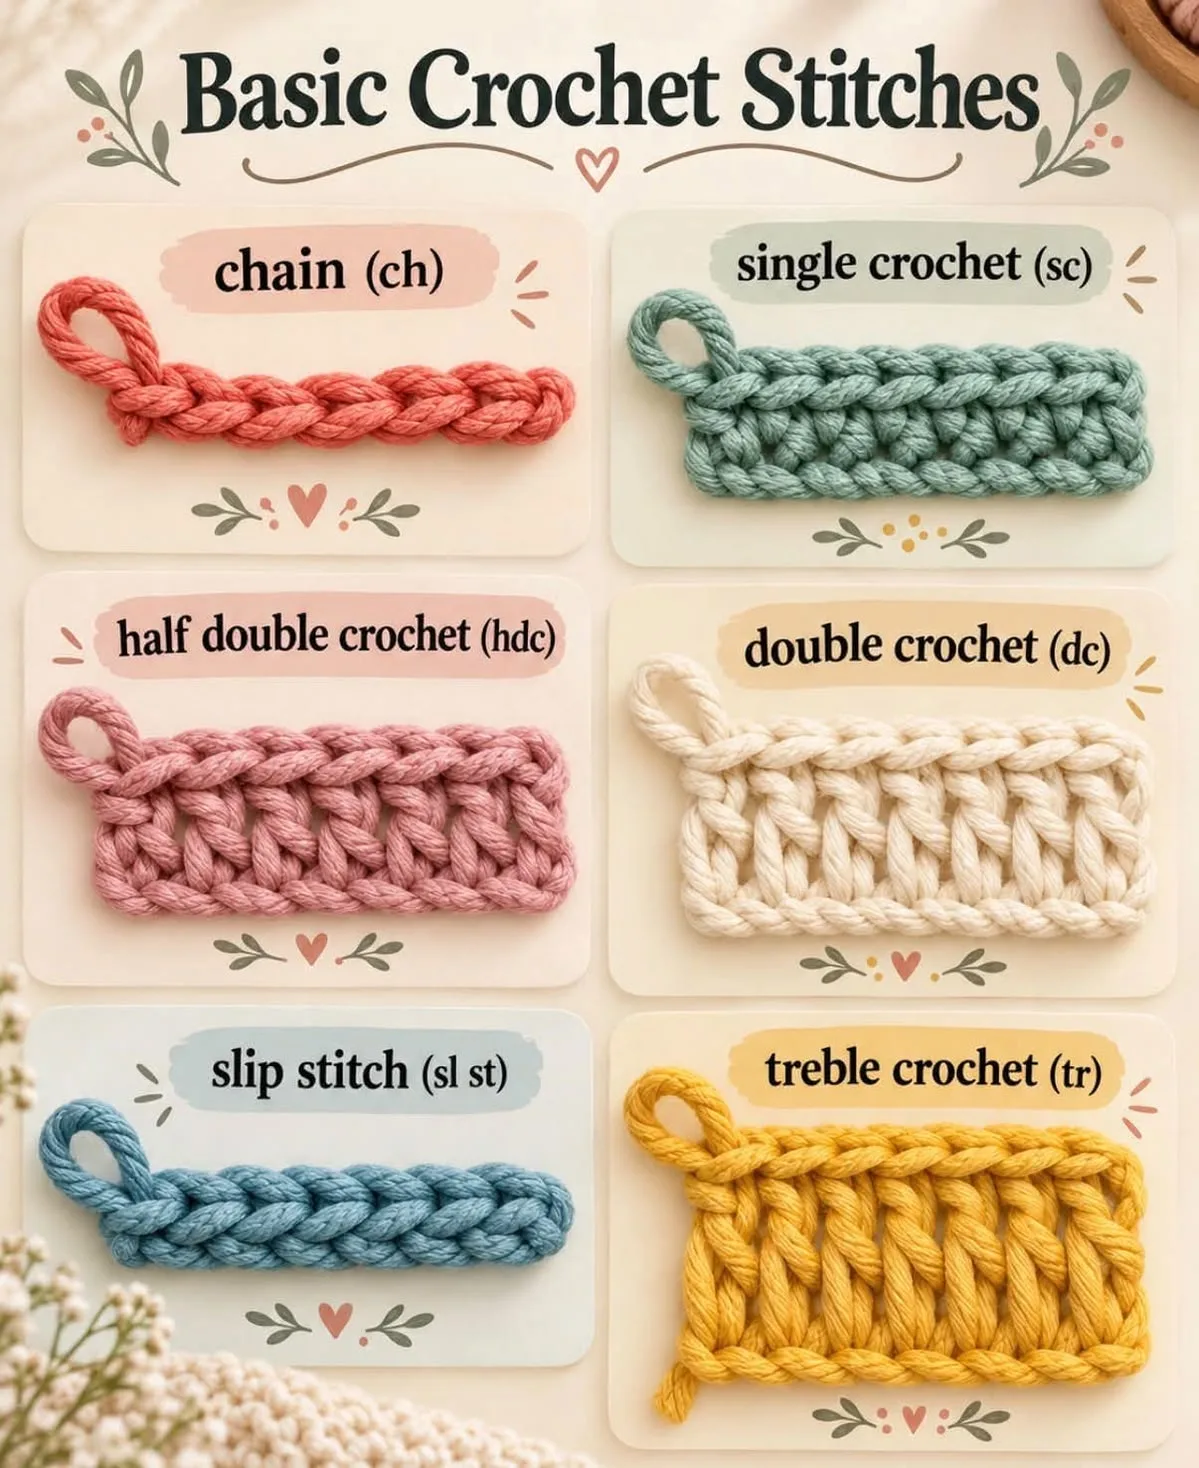
How to Crochet for Beginners: Your First Four Stitches
Leave a comment