Crochet Frog: The Free Sitting Frog Pattern Everyone Wants
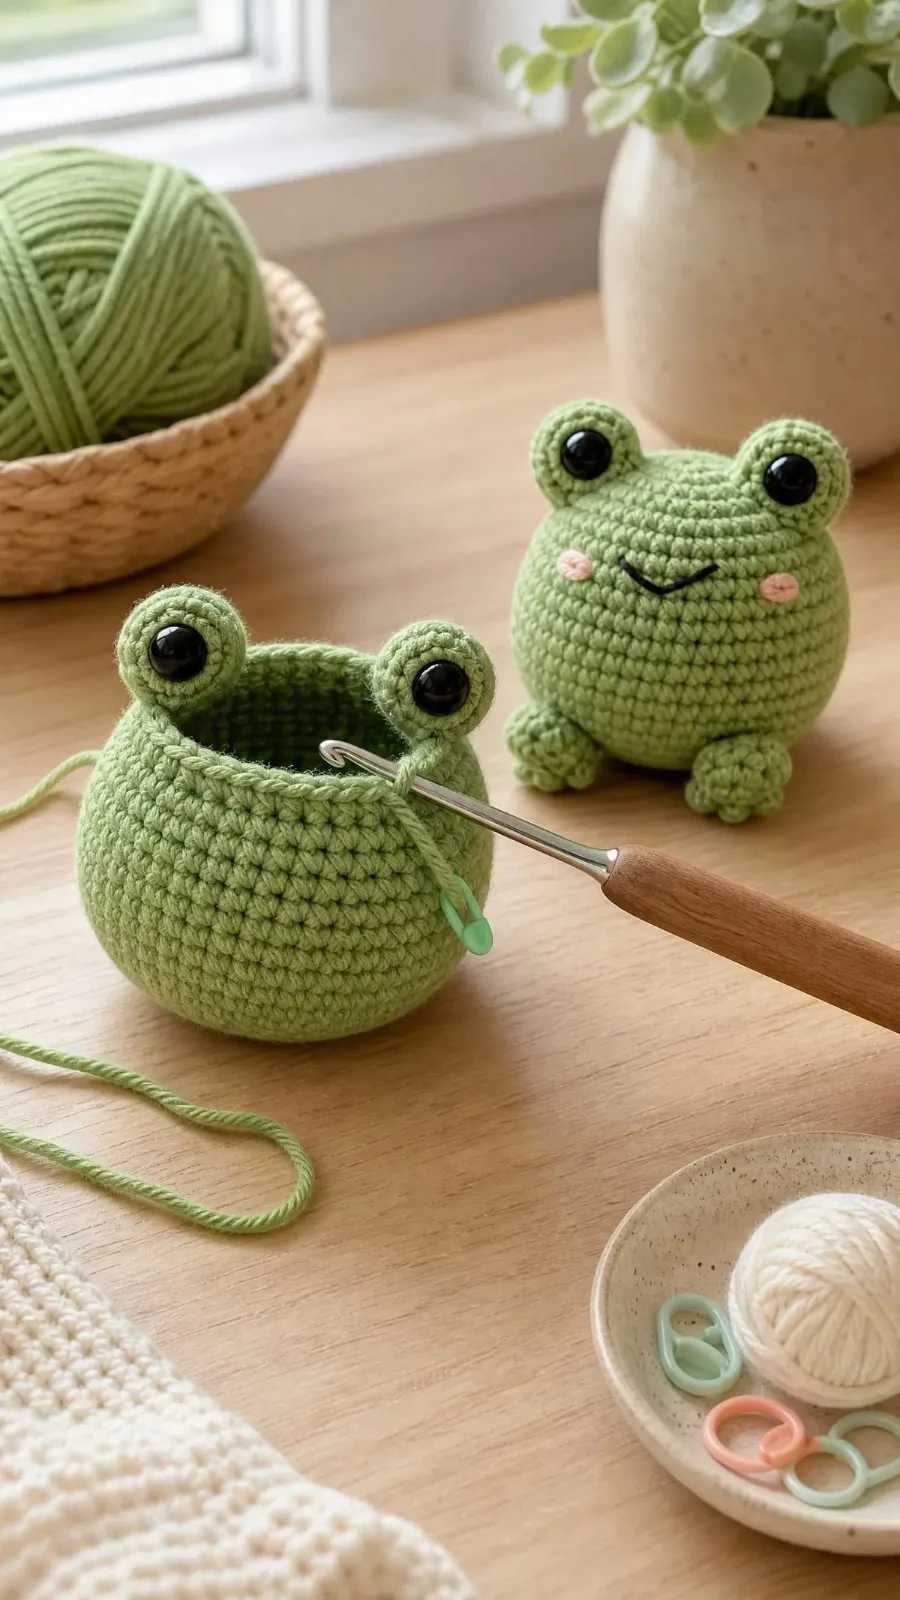
The little green frog that took over the internet — a one-evening amigurumi with a round body, long back legs and a very smug expression.

Pattern at a glance
US terms- Skill level
- Beginner
- Yarn
- Worsted (#4) in green, about 60 yd, plus scraps of white
- Hook
- 3.5 mm (E-4)
- Time
- About 2 hours
- Finished size
- 4 in (10 cm) sitting
You'll need
- Worsted weight (#4) yarn in green — about 60 yd (55 m)
- Scraps of white yarn for the eyes
- 3.5 mm (E-4) crochet hook
- Two 9 mm safety eyes (or black yarn to embroider)
- Polyester fiberfill
- Stitch marker, tapestry needle, scissors
In this post
- Abbreviations (US terms)
- The pattern
- Body and head (one piece, in green)
- Eye bumps (make 2, in white)
- Back legs (make 2, in green)
- Front arms (make 2, in green)
- Assembly
- Make it your own
- Common questions
- Why won't my frog sit up?
- Can I make this without safety eyes?
- How much yarn does the frog use?
- Can I sell frogs made from this pattern?
The sitting frog is the amigurumi that made a whole generation pick up a hook. It's round, it's slightly smug, and its long back legs dangle over the edge of a shelf exactly right.
This version is worked in one piece for the body and head, with four small limbs and two eye bumps sewn on. If this is your first stuffed toy, read amigurumi for beginners first — the ten rules there apply to every round below.
Abbreviations (US terms)
- MR magic ring · sc single crochet · inc 2 sc in one stitch
- dec invisible decrease · sl st slip stitch · ch chain
- ( ) the stitch count at the end of each round
Worked in a continuous spiral — don't join rounds. Move your stitch marker every round.
The rest of this post is just below — free, as always.
The pattern
Body and head (one piece, in green)
- Rnd 1: 6 sc in a MR. (6)
- Rnd 2: Inc in each st around. (12)
- Rnd 3: (Sc 1, inc) 6 times. (18)
- Rnd 4: (Sc 2, inc) 6 times. (24)
- Rnd 5: (Sc 3, inc) 6 times. (30)
- Rnd 6: (Sc 4, inc) 6 times. (36)
- Rnds 7–14: Sc in each st around. (36)
- Rnd 15: (Sc 4, dec) 6 times. (30)
- Rnd 16: (Sc 3, dec) 6 times. (24)
Stuff firmly now, pushing the fiberfill well into the base so the frog sits flat.
- Rnd 17: (Sc 2, dec) 6 times. (18)
- Rnd 18: (Sc 1, dec) 6 times. (12)
- Rnd 19: Add the last of the stuffing, then dec 6 times. (6)
Fasten off, thread the tail through the front loops of the last 6 stitches, pull closed and bury the end.
Eye bumps (make 2, in white)
- Rnd 1: 6 sc in a MR. (6)
- Rnd 2: Inc in each st around. (12)
- Rnds 3–4: Sc in each st around. (12)
Fasten off leaving a long tail. Insert a 9 mm safety eye in the centre of each bump and fix the washer from behind before adding a small wisp of stuffing.
Back legs (make 2, in green)
- Rnd 1: 6 sc in a MR. (6)
- Rnd 2: Inc in each st around. (12)
- Rnds 3–5: Sc in each st around. (12)
- Rnd 6: (Sc 1, dec) 4 times. (8)
- Rnds 7–12: Sc in each st around. (8)
Stuff only the wide foot end — leave the narrow part soft so the leg dangles. Flatten the opening and sc 4 across through both layers to close. Fasten off with a long tail.
Front arms (make 2, in green)
- Rnd 1: 6 sc in a MR. (6)
- Rnds 2–7: Sc in each st around. (6)
Don't stuff. Flatten and sc 3 across to close. Fasten off with a long tail.
Assembly
- Step 1: Pin the eye bumps side by side on the top of the head, about 4 stitches apart, before sewing. Stand the frog up and check they're level.
- Step 2: Sew the back legs to the sides of the body at around Rnd 15, angled forward so the feet rest in front.
- Step 3: Sew the arms to the front at around Rnd 12, a little below the eyes.
- Step 4: Embroider a wide, smug mouth across the face with a strand of darker yarn — one long straight stitch with a small upward tick at each end.
Make it your own
- Lily-pad frog: crochet a green circle 4 in across and sit him on it.
- Pastel frogs: lavender, butter yellow and blush all look wonderful — this frog does not have to be green.
- Tiny frog: use DK yarn and a 2.5 mm hook for a keychain-sized version.
- Frog with a hat: add our mini bow or a tiny beanie for the full cottagecore effect.
Common questions
Why won't my frog sit up?
Not enough stuffing in the base, or the legs are sewn too far back. Pack the bottom rounds firmly and attach the legs at the sides, angled forwards.
Can I make this without safety eyes?
Yes — and you should for a child under 3. Embroider a black French knot or a small satin-stitch oval in the centre of each white bump.
How much yarn does the frog use?
About 60 yd (55 m) of worsted green, which is well under one 50 g ball, plus a few yards of white.
Can I sell frogs made from this pattern?
Yes — sell as many finished frogs as you like. Please don't republish or sell the written pattern itself, and a link back to YarnBloom is always appreciated.
Show us your frog in the comments — bonus points for a hat. 🐸
Did you make this?
Tap a star to rate this pattern — it helps other makers find it.
Be the first to rate it!
YarnBloom
Crochet patterns & tutorials
YarnBloom shares cozy, beginner-friendly crochet patterns written in clear US terms, with a stitch count on every round and tips for the tricky bits. Grab your hook — let’s make something lovely.
You might also love
Crochet Bee: A Free Beginner Amigurumi in One Hour
Crochet Axolotl: Free Amigurumi Pattern with Frilly Gills
Leave a comment