Granny Square Tote Bag: A Free Crochet Pattern for Beginners
Eight classic granny squares, one simple edging and two built-in handles — no sewing on straps. A sturdy cotton tote you will actually carry every day.

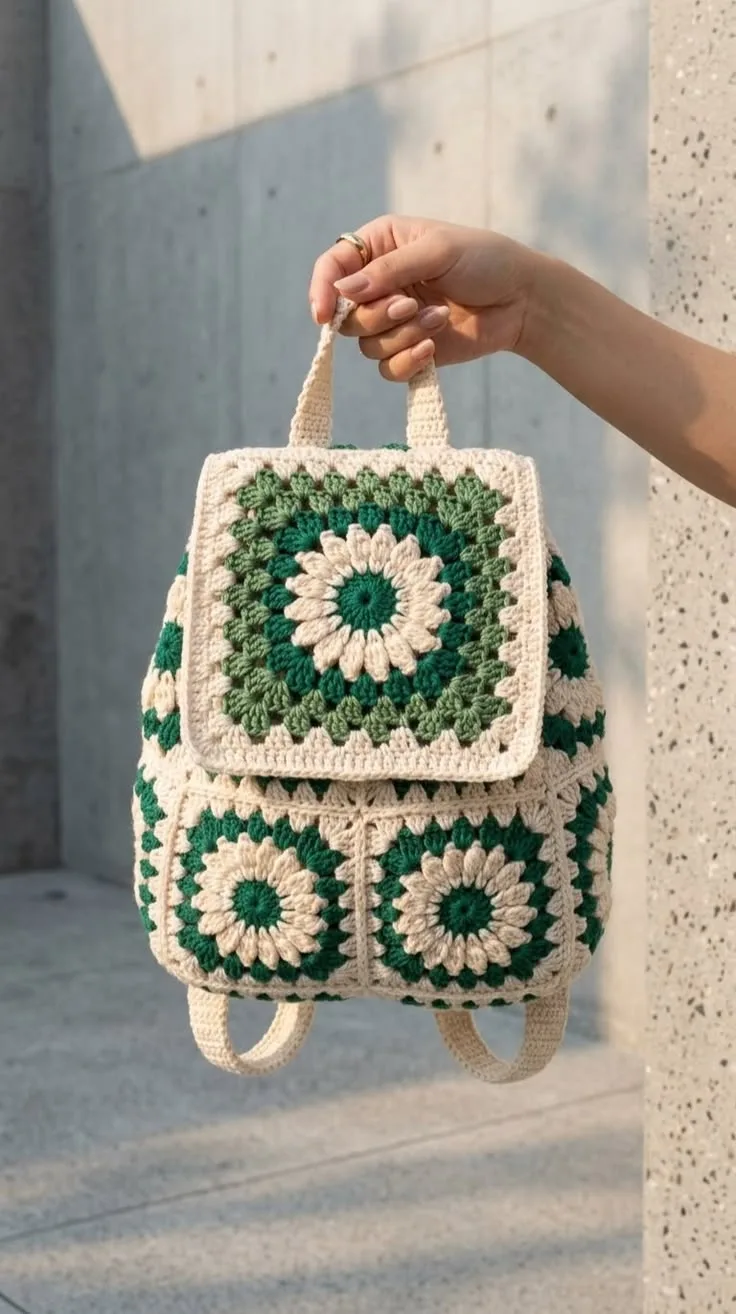
Pattern at a glance
US terms- Skill level
- Easy
- Yarn
- Worsted cotton (#4), about 350 yd
- Hook
- 5 mm (H-8)
- Time
- 6–8 hours
- Finished size
- 13 × 13 in (33 × 33 cm)
You'll need
- Worsted weight (#4) cotton in 4 colors: A ≈ 40 yd, B ≈ 50 yd, C ≈ 60 yd, D (main) ≈ 200 yd
- 5 mm (H-8) crochet hook
- Tapestry needle and scissors
- Stitch markers
- Optional: cotton fabric for a lining and a magnetic snap
In this post
- Why this tote works
- Materials
- Abbreviations (US terms)
- Size and gauge
- The pattern
- Granny square (make 8)
- Join the panels
- Assemble the bag
- Top edging and built-in handles
- Optional: add a lining
- Color combinations we love
- Caring for your tote
- Common questions
- Can I use acrylic yarn?
- My squares aren't the same size. Help!
- How do I stop the handles from stretching?
The granny square is having a moment — again. It's on runways, it's all over Pinterest, and it's the first thing most of us learned to crochet. This tote is the easiest way to turn a stack of squares into something you'll use every single day: groceries, library books, a beach towel, your next project.
The construction is deliberately simple. You'll make eight identical squares, join them into two panels, crochet the panels together, and finish with an edging that creates the handles as you go. No separate straps to sew on, no fiddly gussets.
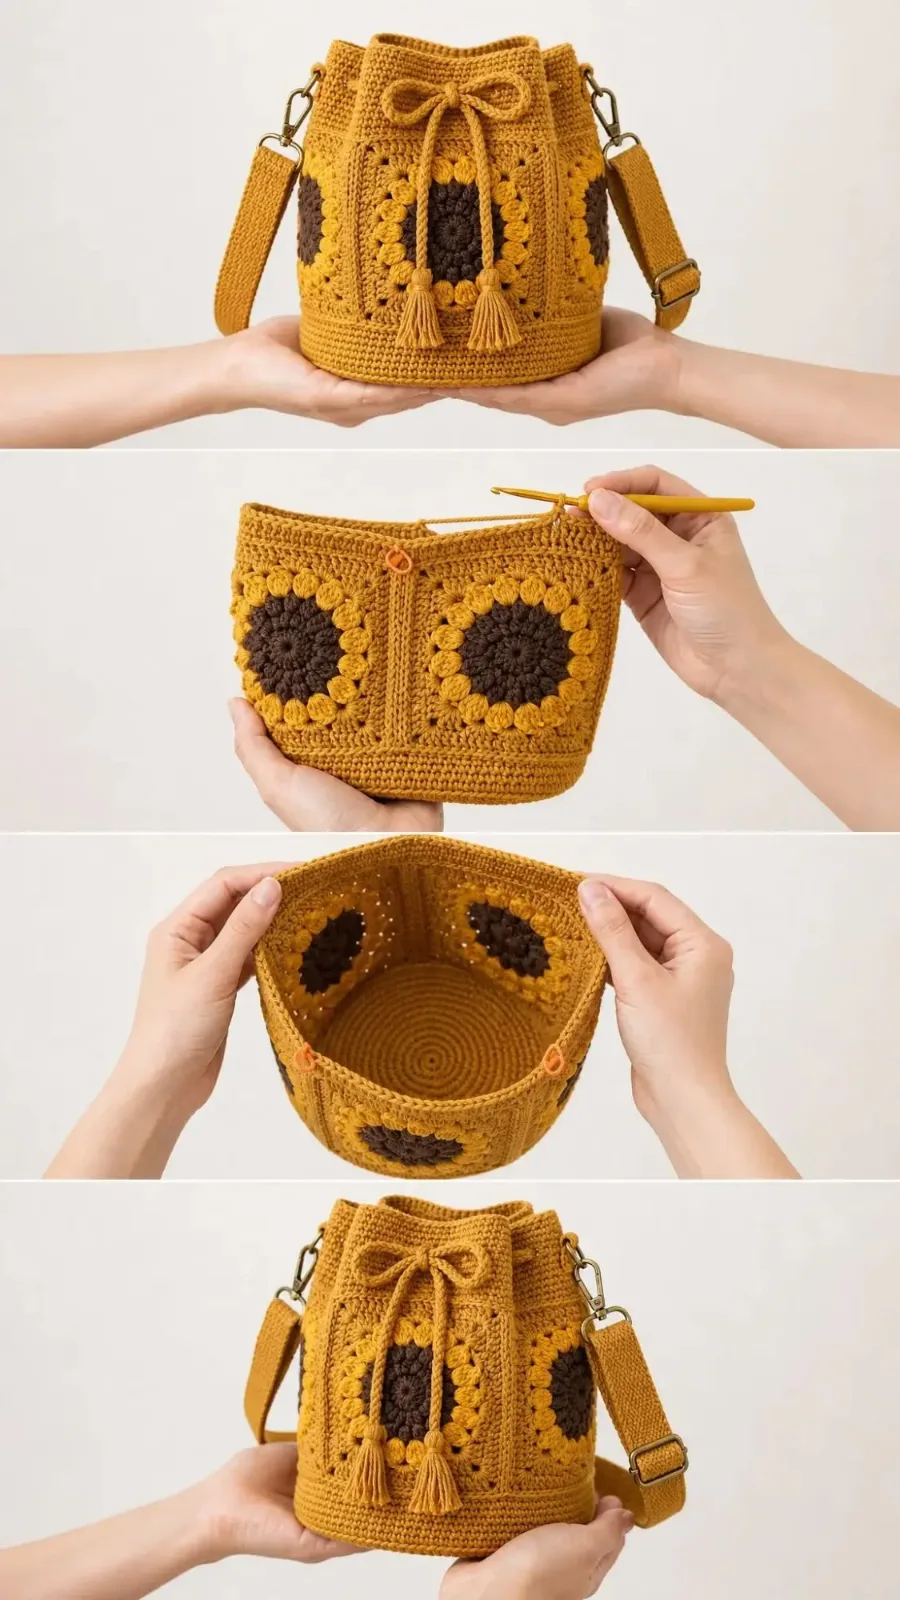
Why this tote works
- Cotton yarn keeps its shape and doesn't stretch out when the bag is full.
- Built-in handles worked in the top edging are stronger than sewn-on straps.
- Portable project: each square takes 30–40 minutes, so you can crochet them anywhere.
- Endlessly customizable: change the colors and it's a completely different bag.
Materials
- Worsted weight (#4) 100% cotton or cotton blend in four colors:
- Color A (center) — about 40 yd
- Color B — about 50 yd
- Color C — about 60 yd
- Color D (outer round, joining, edging and handles) — about 200 yd
- 5 mm (H-8) hook
- Tapestry needle, scissors and a few stitch markers
- Optional: a fat quarter of cotton fabric for lining and a magnetic snap
Color tip: keep Color D a calm neutral — cream, oatmeal or soft white. When every square shares the same outer round, even bold centers look intentional and "designed."
Abbreviations (US terms)
- ch – chain
- sl st – slip stitch
- sc – single crochet
- dc – double crochet
- sp – space
- cluster – a group of 3 dc worked into the same space
Size and gauge
Each finished square measures about 6½ in (16.5 cm). Two squares across makes a 13 in (33 cm) wide bag. Gauge isn't critical for a tote, but if your square comes out much smaller, go up a hook size so the bag isn't too stiff.
The rest of this post is just below — free, as always.
The pattern
Granny square (make 8)
The beginning ch 3 always counts as the first dc. Fasten off at the end of each round and join the next color in a corner space.
- Rnd 1 (Color A): Ch 4 and sl st to the first ch to form a ring. Ch 3, 2 dc in the ring, ch 2, *3 dc in the ring, ch 2*; repeat from * 2 more times. Join with a sl st to the top of the beginning ch 3. (4 clusters, 4 corner spaces)
- Rnd 2 (Color B): Join in any ch-2 corner space. Ch 3, (2 dc, ch 2, 3 dc) in the same space. *(3 dc, ch 2, 3 dc) in the next corner space*; repeat from * 2 more times. Join. (8 clusters)
- Rnd 3 (Color C): Join in any corner space. Ch 3, (2 dc, ch 2, 3 dc) in the same space. *3 dc in the gap between the next two clusters, (3 dc, ch 2, 3 dc) in the next corner*; repeat from * 2 more times, then 3 dc in the last gap. Join. (12 clusters)
- Rnd 4 (Color A): Join in any corner space. Work as Round 3, putting 3 dc in each gap along the sides — there are now 2 gaps per side. Join. (16 clusters)
- Rnd 5 (Color D): As Round 4, with 3 gaps per side. Join and fasten off. (20 clusters — 15 dc along each side)
Weave in all your ends as you finish each square. Future-you, assembling the bag, will be very grateful.
Block your squares. Pin each square to 6½ in on a towel, mist with water and let it dry. Blocked squares line up perfectly and make joining much easier.
Join the panels
Arrange your squares into two panels of 2 × 2 — one for the front, one for the back.
- Hold two squares with wrong sides together. With Color D, join in the matching corner spaces.
- Ch 1, then sc through both layers in each stitch across, ending in the corner spaces. This makes a neat raised ridge on the right side.
- Join the squares into two strips of two, then join the strips together. Where four corners meet, work through the corner spaces so there's no hole.
Assemble the bag
- Place the front and back panels with wrong sides together and the tops lined up.
- With Color D, join at one top corner and sc through both layers down the side, work 3 sc in the bottom corner, sc across the bottom, 3 sc in the next corner and sc up the other side. Leave the top open and fasten off.
Top edging and built-in handles
Work in joined rounds with Color D. Start at one side seam.
- Rnd 1: Ch 1, sc in each dc and 1 sc in each corner space around the opening. Join. (68)
- Rnd 2: Ch 1, sc in each st around. Join. (68)
- Rnd 3 (handles): Ch 1, sc in the first 9 sts, ch 50, skip 16 sts, sc in the next 18 sts, ch 50, skip 16 sts, sc in the last 9 sts. Join. (36 sc and two ch-50 loops)
- Rnd 4: Ch 1, sc in each sc and in each chain around. Join. (136)
- Rnd 5: Ch 1, sc in each st around — or work reverse sc (crab stitch) for a corded edge. Join and fasten off. (136)
The handles sit centered on each panel. If your Round 1 count is a stitch or two off 68, simply add or skip a stitch at a side seam so the numbers match before you start the handles.
Want shoulder straps? Chain 70 instead of 50 for each handle. Round 4 will then have 176 stitches.
Optional: add a lining
A fabric lining stops small things slipping through the granny gaps and keeps the bag from stretching. Cut two rectangles 14 × 14 in, sew them along three sides with a ½ in seam, fold the top edge under and hand-stitch it just below the edging. Add a magnetic snap before you stitch it in.
Color combinations we love
- Sage garden: blush center, sage, butter yellow, cream outer round.
- Pumpkin spice: mustard, rust and terracotta with an oatmeal outer round.
- Berry picnic: raspberry, pink and lilac with a white outer round.
- Scrappy: a different center in every square — all tied together with one neutral.
Add a bow to one handle for a little extra charm — our easy crochet bow works perfectly on bags too.
Caring for your tote
Hand wash in cool water with a gentle detergent, squeeze out the water (don't wring), and lay flat to dry, reshaping the squares as it dries. Cotton softens beautifully with every wash.
Common questions
Can I use acrylic yarn?
You can, but acrylic stretches when the bag is loaded. If you love acrylic colors, add a fabric lining to keep the shape.
My squares aren't the same size. Help!
Tension often changes as you relax into a project. Block all eight squares to the same measurement and the difference usually disappears.
How do I stop the handles from stretching?
Work a row of sl st along the inner edge of each handle, or thread a length of cotton webbing through the stitches on the inside.
Have you made one? Share your color combination in the comments — we love seeing what you create. 🧺
Did you make this?
Tap a star to rate this pattern — it helps other makers find it.
Be the first to rate it!
YarnBloom
Crochet patterns & tutorials
YarnBloom shares cozy, beginner-friendly crochet patterns written in clear US terms, with a stitch count on every round and tips for the tricky bits. Grab your hook — let’s make something lovely.
Leave a comment