Easy Crochet Ghost Amigurumi: A Free No-Sew Halloween Pattern
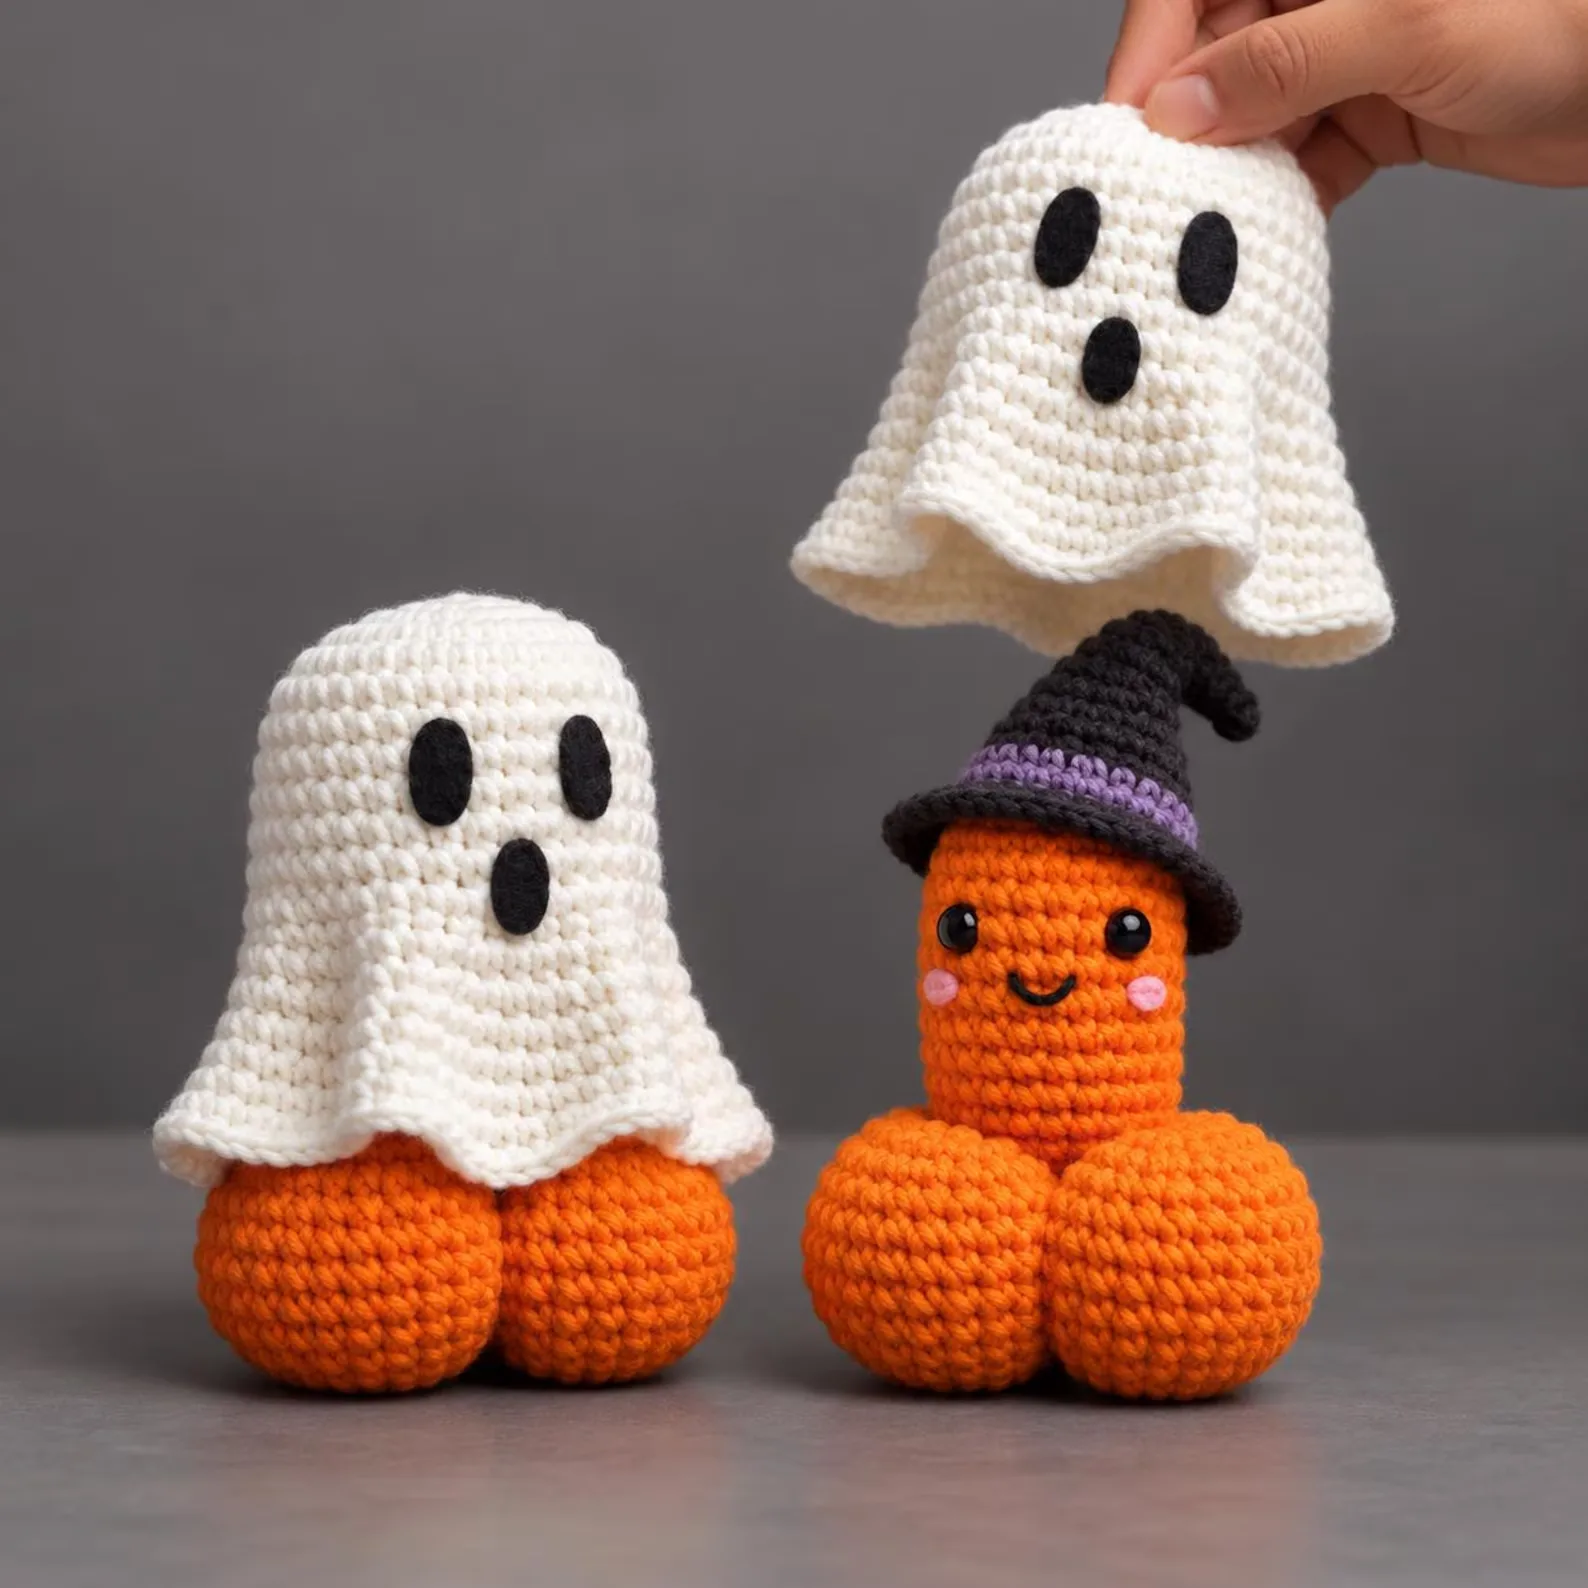
A squishy little ghost with a scalloped hem, worked in one piece from the top down — no limbs to attach, about an hour from magic ring to finished. Perfect for your first amigurumi.

Pattern at a glance
US terms- Skill level
- Beginner
- Yarn
- Worsted (#4), about 35 yd
- Hook
- 3.5 mm (E-4)
- Time
- About 1 hour
- Finished size
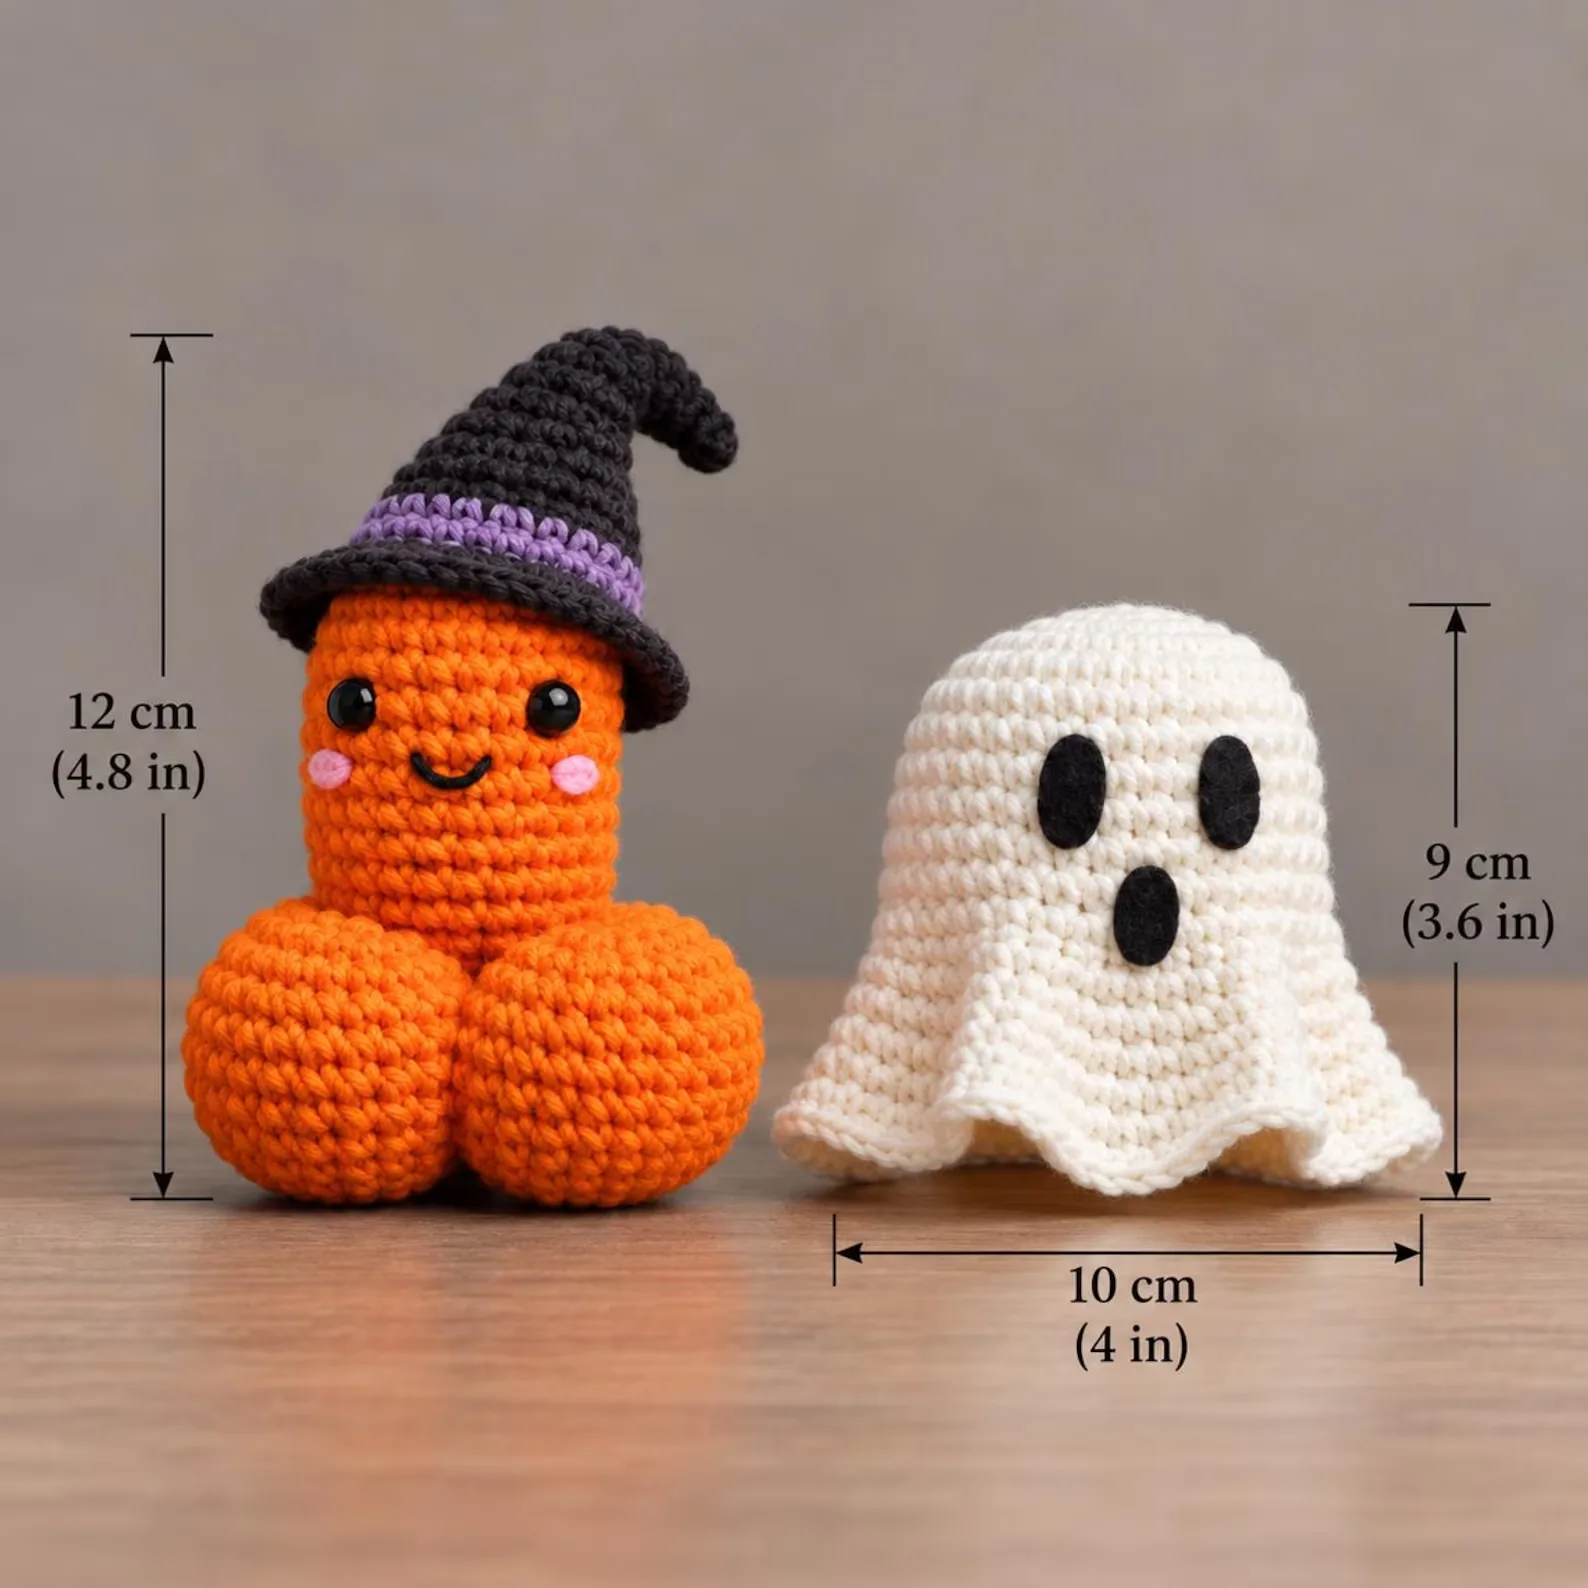
- 3½ in (9 cm) tall
- Rating
You'll need
- Worsted weight (#4) yarn in white or cream — about 35 yd (32 m)
- 3.5 mm (E-4) crochet hook
- Two 8 mm safety eyes (or black yarn to embroider them)
- Polyester fiberfill
- Stitch marker
- Tapestry needle and scissors
- Optional: a scrap of pink yarn for cheeks
In this post
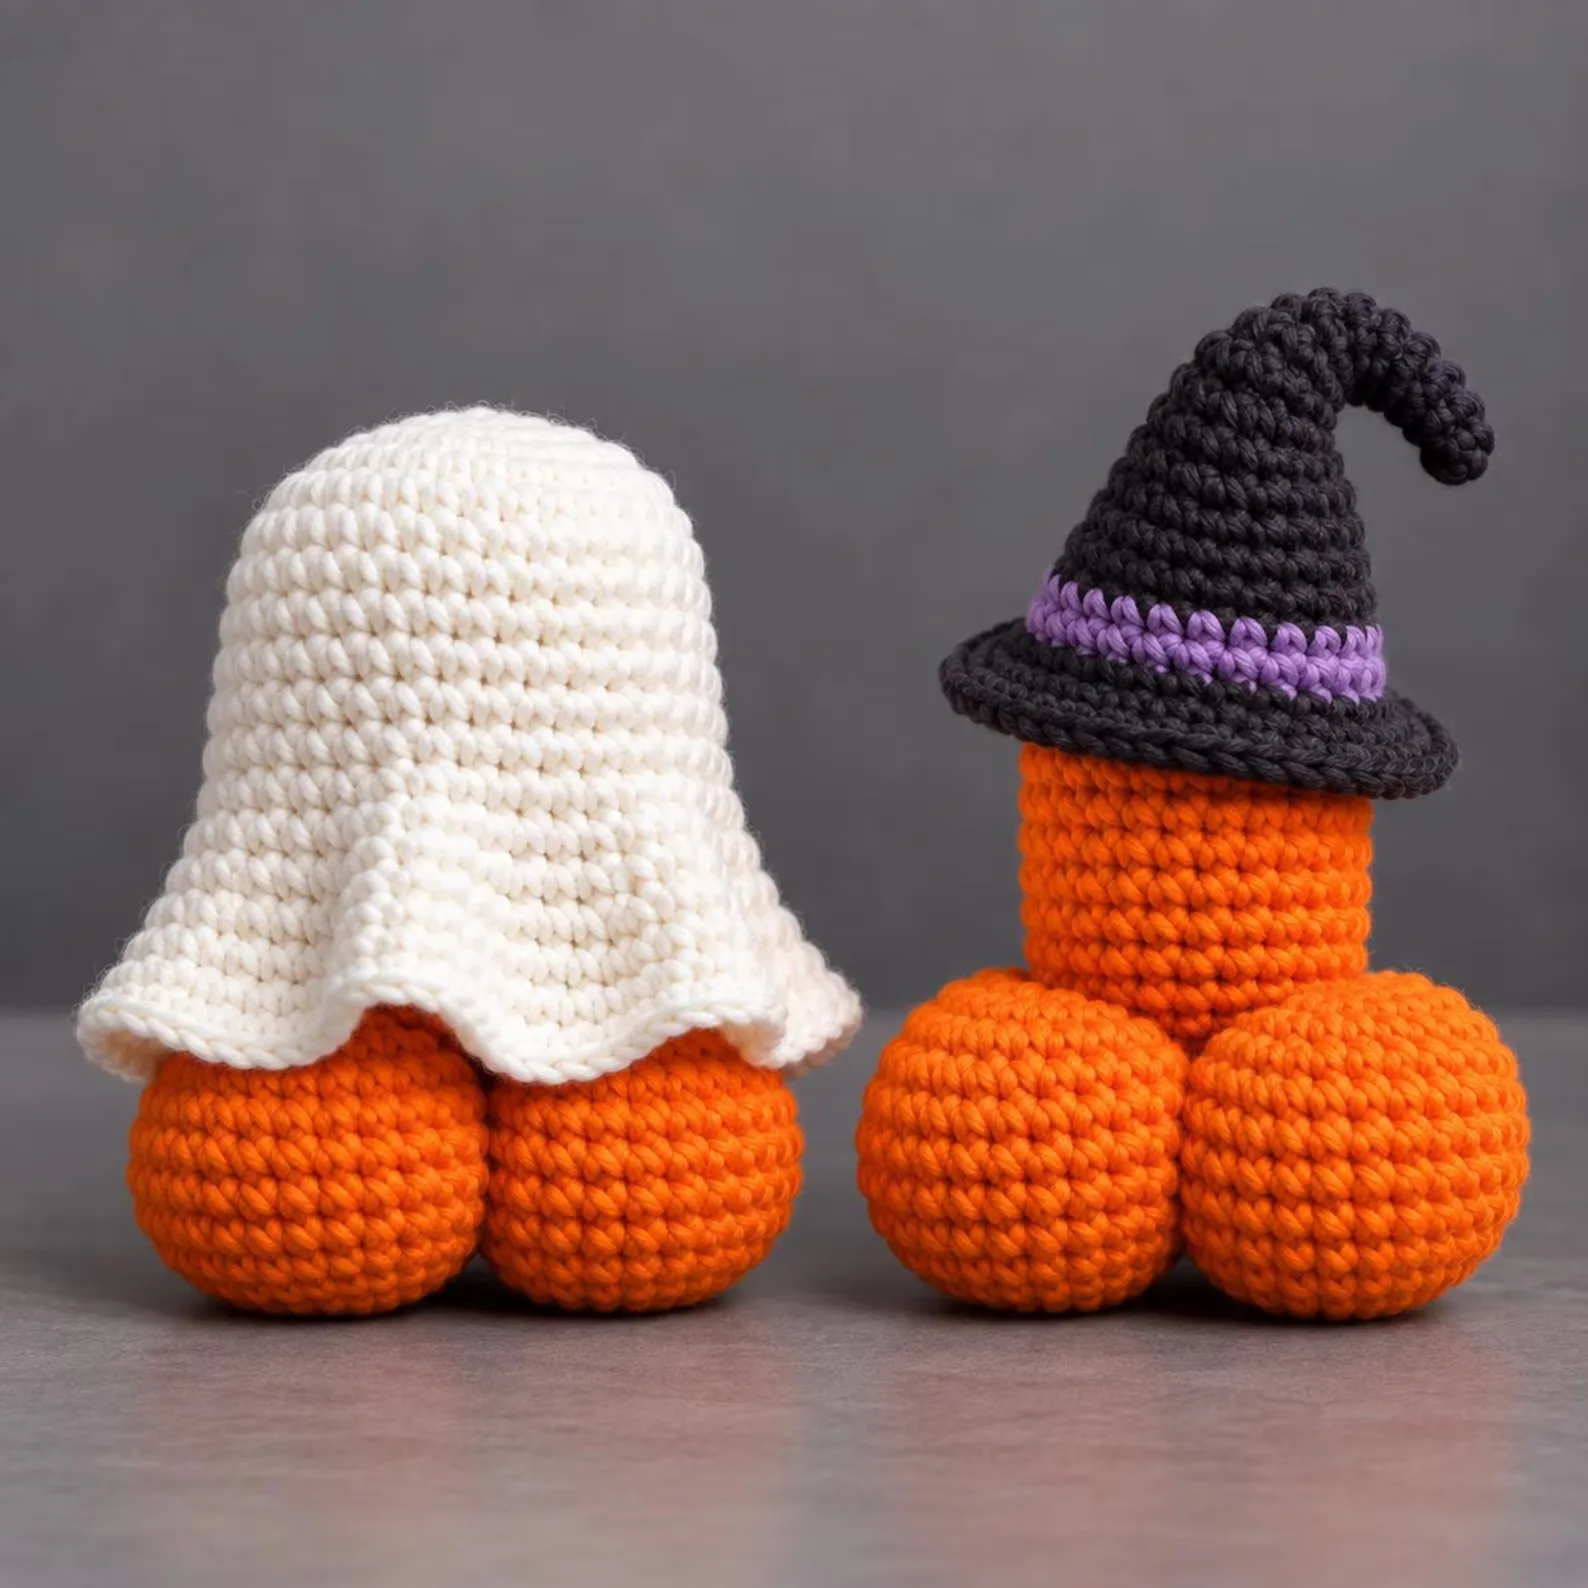
Every October the same little pattern takes over our feeds: a round, slightly wobbly ghost with a ruffled hem and two shiny eyes. It's cute, it's fast, and — the part we love most — it's worked in one single piece. There are no arms or legs to sew on, so it's the friendliest possible introduction to amigurumi.
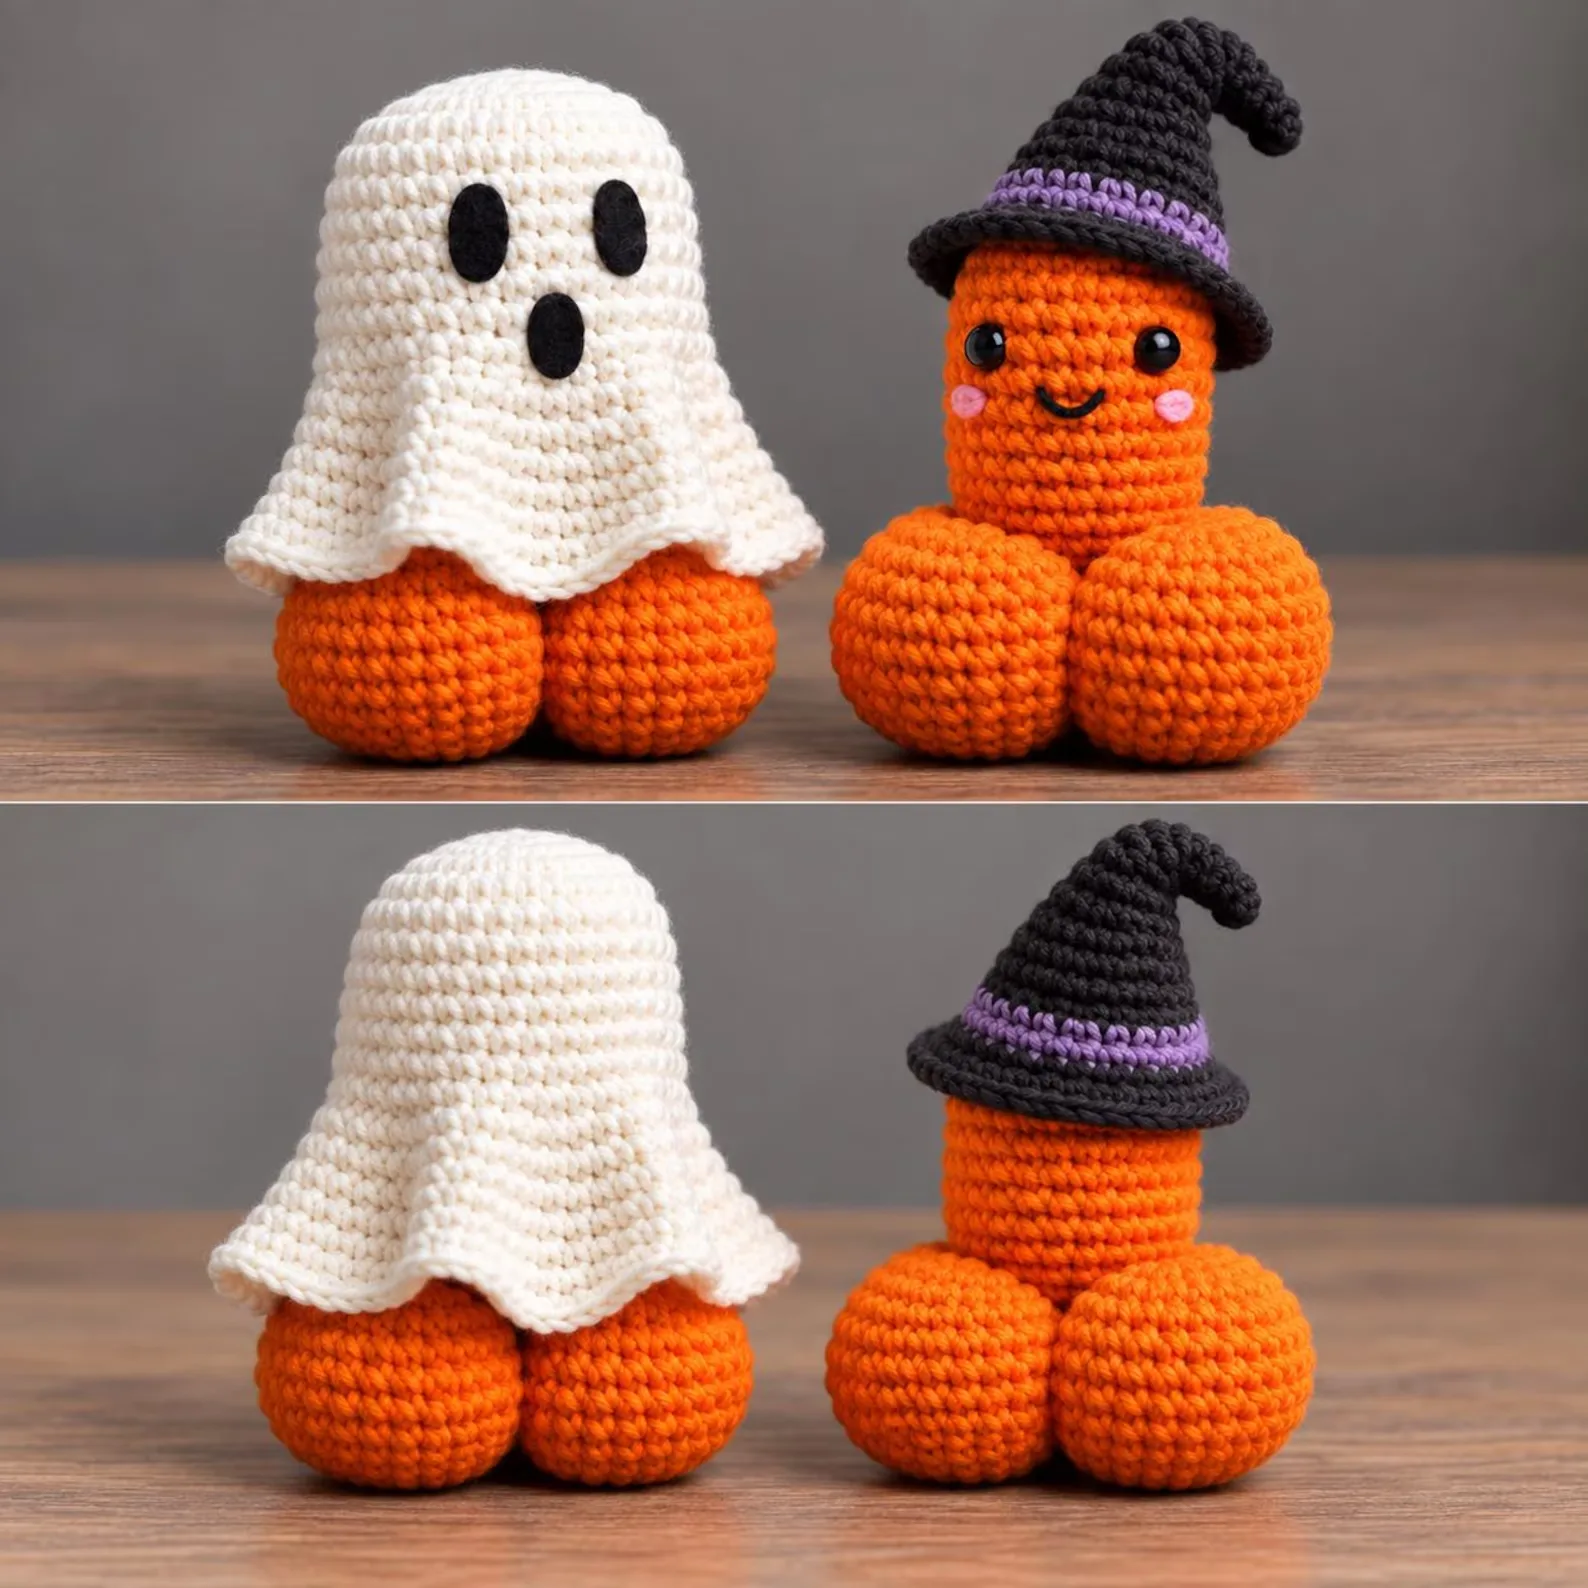
Make one for your desk, a handful for a mantel garland, or a whole basket to sell at a fall craft fair. Once you've made the first, the next one takes well under an hour.
Why you'll love this pattern
- No sewing pieces together. The body, base and scalloped hem are all crocheted in one go.
- Beginner friendly. If you can make a single crochet, an increase and a decrease, you can make this.
- Uses scraps. About 35 yards of worsted yarn — a leftover end of a skein is plenty.
- Every round has a stitch count, so you always know you're on track.
Materials
You don't need anything fancy. Cotton gives crisp stitch definition and a slightly sturdier ghost; acrylic is softer and squishier. Both work beautifully.
- Worsted weight (#4) yarn in white or cream — about 35 yd (32 m)
- 3.5 mm (E-4) hook — smaller than the yarn label suggests, so the fabric is tight and the stuffing doesn't peek through
- Two 8 mm safety eyes, or black yarn to embroider eyes
- Polyester fiberfill
- A stitch marker, tapestry needle and scissors
Making this for a little one? Safety eyes are a choking hazard for children under 3. Embroider the eyes with black yarn instead — it looks just as sweet.
Abbreviations (US terms)
- MR – magic ring
- sc – single crochet
- inc – increase: 2 sc in the same stitch
- dec – decrease: invisible decrease (insert the hook in the front loops of the next 2 stitches, yarn over, pull through both loops, yarn over and pull through the 2 loops on the hook)
- BLO / FLO – back loop only / front loop only
- dc – double crochet
- sl st – slip stitch
- ( ) – the stitch count at the end of each round
 Before you start
This ghost is worked in continuous rounds (a spiral) — you don't join at the end of each round. Place your stitch marker in the first stitch of every round and move it up as you go. Gauge isn't critical; just aim for fabric firm enough that you can't see through it when you stretch it gently.
The rest of this post is just below — free, as always.
The pattern
Head and body
- Rnd 1: 6 sc in a MR. (6)
- Rnd 2: Inc in each st around. (12)
- Rnd 3: (Sc 1, inc) 6 times. (18)
- Rnd 4: (Sc 2, inc) 6 times. (24)
- Rnd 5: (Sc 3, inc) 6 times. (30)
- Rnds 6–12: Sc in each st around. (30)
Add the eyes now. Insert the safety eyes between Rounds 9 and 10, about 6 stitches apart, and snap the washers on from the inside. Placing them while the opening is wide is much easier than fiddling with them later.
- Rnd 13: (Sc 4, inc) 6 times. (36)
- Rnds 14–16: Sc in each st around. (36)
The extra stitches in Round 13 give the ghost its gently flared "sheet" shape.
Base
Round 17 is worked in the back loops only. This leaves the front loops of Round 16 free — that's where the scalloped hem will go.
- Rnd 17 (BLO): (Sc 4, dec) 6 times. (30)
- Rnd 18: Working through both loops again, (sc 3, dec) 6 times. (24)
Stuff the ghost firmly, pushing the fiberfill up into the head first so the top stays round.
- Rnd 19: (Sc 2, dec) 6 times. (18)
- Rnd 20: (Sc 1, dec) 6 times. (12)
- Rnd 21: Add a little more stuffing, then dec 6 times. (6)
Fasten off, leaving a 6-inch tail. Thread it onto your tapestry needle, weave it through the front loop of each of the 6 remaining stitches, pull tight to close the hole, and hide the end inside the body.
Scalloped hem
Turn the ghost upside down so the base faces you. You'll see a ring of unworked front loops from Round 16 — 36 of them.
- Join your yarn with a sl st in any free front loop.
- *Skip 1 loop, work 5 dc in the next loop, skip 1 loop, sl st in the next loop.* Repeat from * around, ending with a sl st in the loop where you joined. (9 scallops)
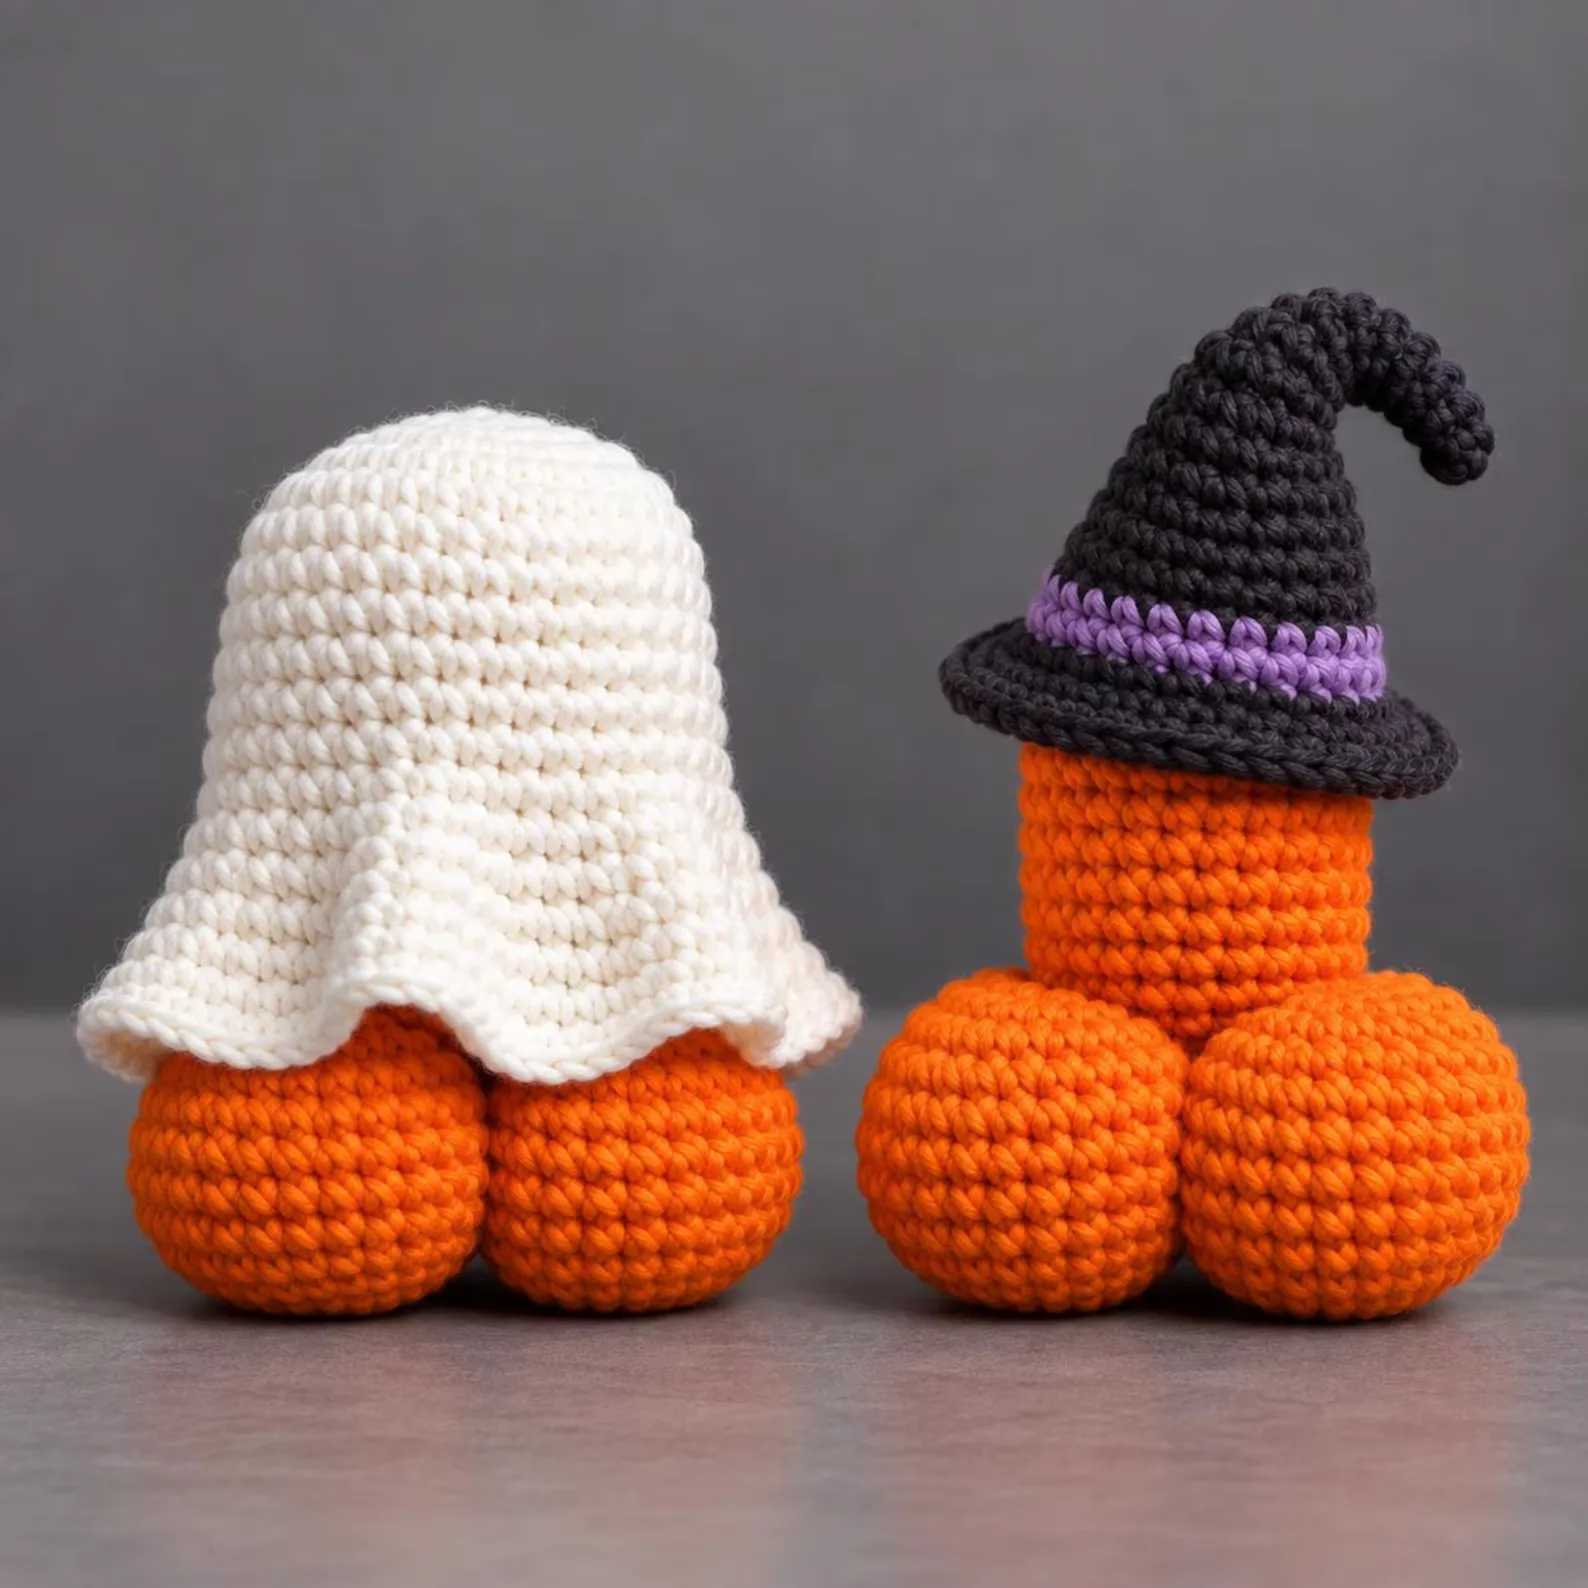
Fasten off and weave in the end. The scallops will flare out naturally, like the edge of a sheet catching the wind.
Finishing touches
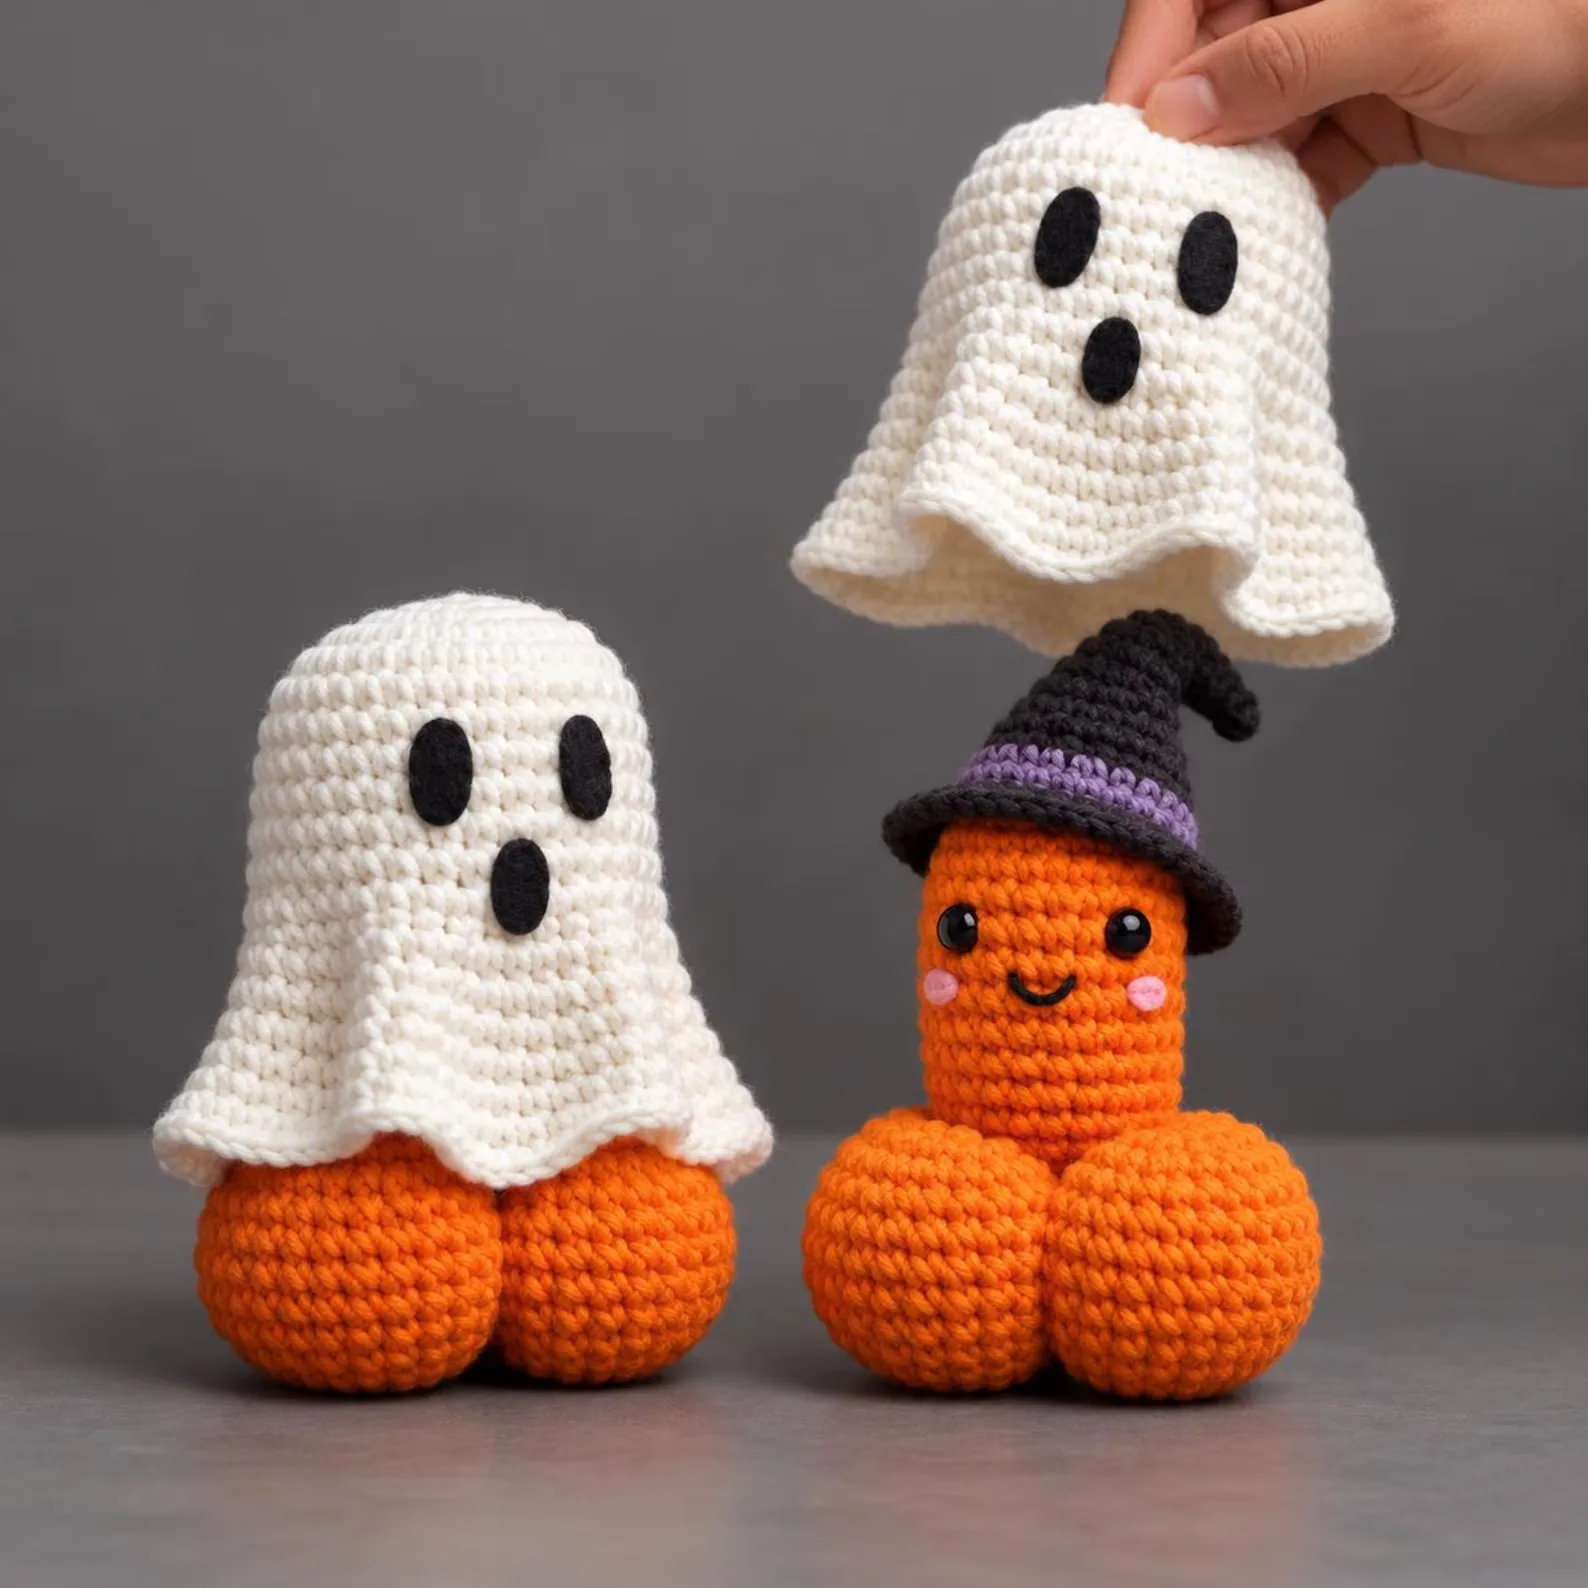
For rosy cheeks, thread a scrap of pink yarn and work two or three short straight stitches just below and outside each eye. Want a sleepy ghost? Skip the safety eyes and embroider two small curved lines instead.
Make it your own
- Glow-in-the-dark ghost: use a glow yarn for a nightlight-friendly version kids adore.
- Keychain ghost: switch to DK yarn and a 2.5 mm hook, work Rounds 6–12 only four times instead of seven, and add a keyring through the top before stuffing.
- Ghost with a bow: add a tiny bow to the top of the head — our 15-minute crochet bow scaled down with the mini version works perfectly.
- Ghost garland: make five or six, skip the stuffing in the base so they sit flat, and string them on twine.
- Pastel ghosts: lavender, mint and blush ghosts are just as charming — and stay up long after Halloween.
Common questions
My ghost looks lumpy. What went wrong?
Usually it's stuffing — either too little (the fabric caves in) or a few big clumps. Pull the fiberfill apart into small wisps before adding it, and keep adding until the body feels firm but still squishy.
Why do I see gaps between my stitches?
Your hook is a little large for your tension. Go down half a millimetre, or try the "yarn under" single crochet, which makes tighter stitches.
Can I sell ghosts made from this pattern?
Yes — you're welcome to sell finished ghosts you make by hand. We just ask that you don't share or sell the written pattern itself, and a link back to YarnBloom is always appreciated.
How long does it take?
Most beginners finish their first ghost in about an hour. Once you know the rounds by heart, it's closer to 40 minutes.
If you make one, we'd love to see it — leave a comment below and tell us what you named your ghost. 👻
Did you make this?
Tap a star to rate this pattern — it helps other makers find it.
Rated 5.0 by 1 maker
YarnBloom
Crochet patterns & tutorials
YarnBloom shares cozy, beginner-friendly crochet patterns written in clear US terms, with a stitch count on every round and tips for the tricky bits. Grab your hook — let’s make something lovely.
Leave a comment