Amigurumi for Beginners: 10 Rules for Neat Crochet Toys
Spirals, stitch markers, invisible decreases, stuffing that doesn’t go lumpy and safety eyes that sit straight — everything that separates a tidy amigurumi from a wonky one.

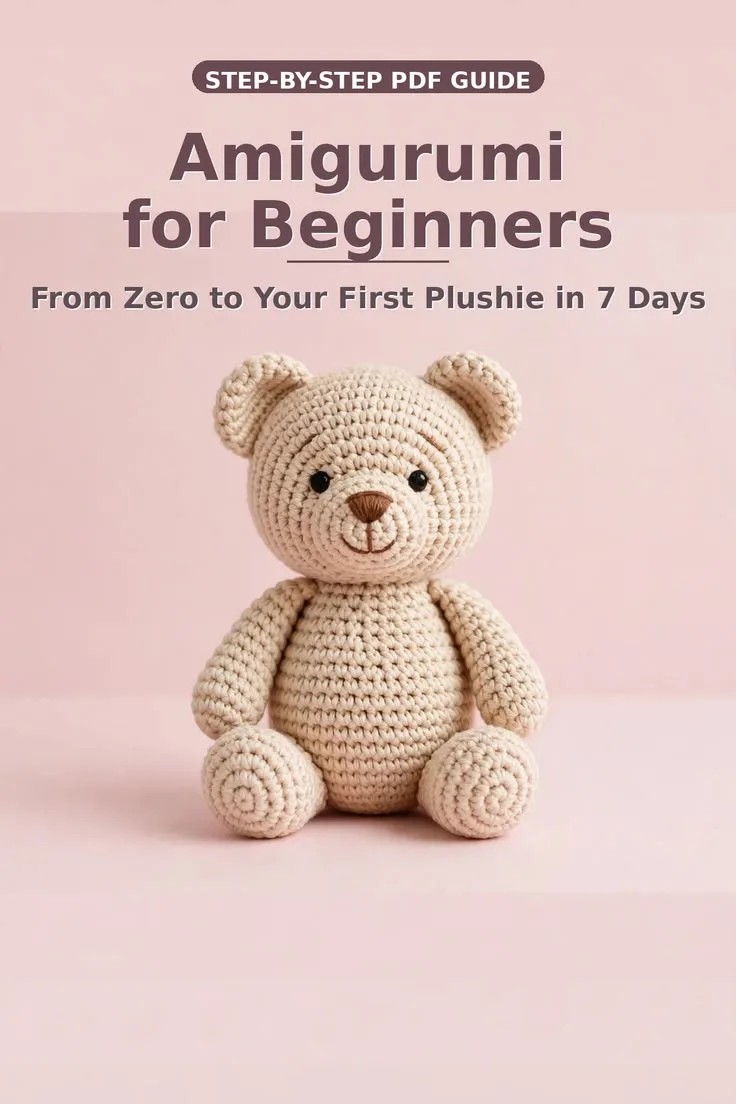
Pattern at a glance
US terms- Skill level
- Beginner
- Yarn
- Worsted (#4) cotton or acrylic
- Hook
- 3.5 mm (E-4) — deliberately small
- Time
- 10 minute read
You'll need
- Worsted weight (#4) yarn, smooth and matte
- 3.5 mm (E-4) hook — one to two sizes below the label
- Stitch marker
- Polyester fiberfill
- Safety eyes, or black yarn for embroidered eyes
- Tapestry needle
In this post
- The ten rules
- 1. Use a hook one to two sizes smaller than the label
- 2. Work in a continuous spiral, never joined rounds
- 3. Move a stitch marker every single round
- 4. Start with a magic ring, and lock it
- 5. Use the invisible decrease
- 6. Place safety eyes before you close the piece
- 7. Stuff in small wisps, firmly, as you go
- 8. Keep your tension even and tight
- 9. Pin before you sew
- 10. Close the final hole with the front loops
- The standard amigurumi sphere
- Common questions
- What yarn is best for amigurumi?
- Why is my amigurumi lopsided?
- How much stuffing should I use?
- Can amigurumi be washed?
- How long does one amigurumi take?
Amigurumi is the Japanese art of crocheting small stuffed toys, and it only needs one stitch: the single crochet. What separates a toy that looks shop-bought from one that looks homemade isn't skill with fancy stitches — it's ten small habits.
Learn these once and every amigurumi pattern on YarnBloom, from the Halloween ghost to the axolotl, comes out neat.
The rest of this post is just below — free, as always.
The ten rules
1. Use a hook one to two sizes smaller than the label
Worsted yarn says 5–5.5 mm; amigurumi uses 3.5 mm. The fabric has to be dense enough that white fiberfill can't show between the stitches. If you can see stuffing through your work, the hook was too big — see our hook size chart.
2. Work in a continuous spiral, never joined rounds
Amigurumi is worked round and round without joining, so there is no seam running up the body. The cost is that you can't see where a round begins — which is why rule 3 exists.
3. Move a stitch marker every single round
Put the marker in the first stitch of the round and move it up as you start each new one. A scrap of contrasting yarn works as well as a plastic clip. Without it, increases drift sideways and the toy comes out lopsided.
4. Start with a magic ring, and lock it
A chain-2 start leaves a hole that stuffing pushes through. Use a magic ring, then sew the centre shut with the tail — two tiny stitches so it can never work loose inside a squeezed toy.
5. Use the invisible decrease
A normal decrease leaves a visible bump. The invisible decrease doesn't:
- Step 1: Insert the hook into the front loop only of the next stitch.
- Step 2: Without yarning over, insert it into the front loop of the following stitch too. (3 loops on the hook)
- Step 3: Yarn over and pull through the first two loops. (2 loops)
- Step 4: Yarn over and pull through both. (1 decrease made)
6. Place safety eyes before you close the piece
Push them in while the opening is still wide and you can reach the washers from inside. Count stitches to place them symmetrically — "between rounds 9 and 10, six stitches apart" — rather than eyeballing it.
Making it for a child under 3? Skip safety eyes entirely and embroider them with black yarn. Safety eyes are a choking hazard however firmly they click in.
7. Stuff in small wisps, firmly, as you go
Pull the fiberfill apart into small pieces rather than pushing in one lump. Fill the head before the neck closes, and keep adding until the piece holds its shape when squeezed — most beginners under-stuff. A chopstick or the blunt end of a hook helps reach the corners.
8. Keep your tension even and tight
Amigurumi fabric should feel firm, almost stiff. If your hands tire, you're over-gripping — the tightness should come from the small hook, not from strangling the yarn.
9. Pin before you sew
Arms, ears and legs go on crooked if you sew them straight away. Pin every piece, stand the toy up, look at it from the front, and only then sew. Use the long tail you left when fastening off.
10. Close the final hole with the front loops
At the last round of 6 stitches, thread the tail onto a needle, pass it through the front loop of each of the 6 stitches in turn, then pull tight. The hole vanishes. Bury the tail inside the body before cutting.
The standard amigurumi sphere
Almost every amigurumi head starts from this shape. Memorise it and you can improvise:
- Rnd 1: 6 sc in a magic ring. (6)
- Rnd 2: Inc in each st around. (12)
- Rnd 3: (Sc 1, inc) 6 times. (18)
- Rnd 4: (Sc 2, inc) 6 times. (24)
- Rnds 5–8: Sc in each st around. (24)
- Rnd 9: (Sc 2, dec) 6 times. (18)
- Rnd 10: (Sc 1, dec) 6 times — begin stuffing. (12)
- Rnd 11: Dec 6 times. (6)
Each increase round adds 6 stitches; each decrease round removes 6. That's the whole secret of amigurumi shaping. The full-size version is our crochet ball pattern.
Common questions
What yarn is best for amigurumi?
Smooth, matte worsted cotton or acrylic. Cotton gives crisp stitch definition and holds shape; acrylic is softer and more forgiving. Avoid fluffy, metallic or textured yarns while learning — you won't be able to see your stitches.
Why is my amigurumi lopsided?
Almost always a drifting stitch marker, or increases that landed a stitch off. Count every round against the number in brackets and the shape corrects itself.
How much stuffing should I use?
More than feels right. The toy should be firm enough to keep its shape when you press it, with no soft hollow spots. Under-stuffed amigurumi sags and the stitches gape.
Can amigurumi be washed?
Hand wash in cool water, press out the water in a towel without wringing, and let it dry fully — stuffing holds moisture, so give it a day or two. Machine washing distorts the shape and can shift the stuffing into lumps.
How long does one amigurumi take?
A small one-piece toy is about an hour. Something with separate arms, legs and ears takes an evening or two, mostly in the assembly.
Ready to make one? The sitting frog is the friendliest first project. 🧸
Did you make this?
Tap a star to rate this pattern — it helps other makers find it.
Be the first to rate it!
YarnBloom
Crochet patterns & tutorials
YarnBloom shares cozy, beginner-friendly crochet patterns written in clear US terms, with a stitch count on every round and tips for the tricky bits. Grab your hook — let’s make something lovely.
You might also love
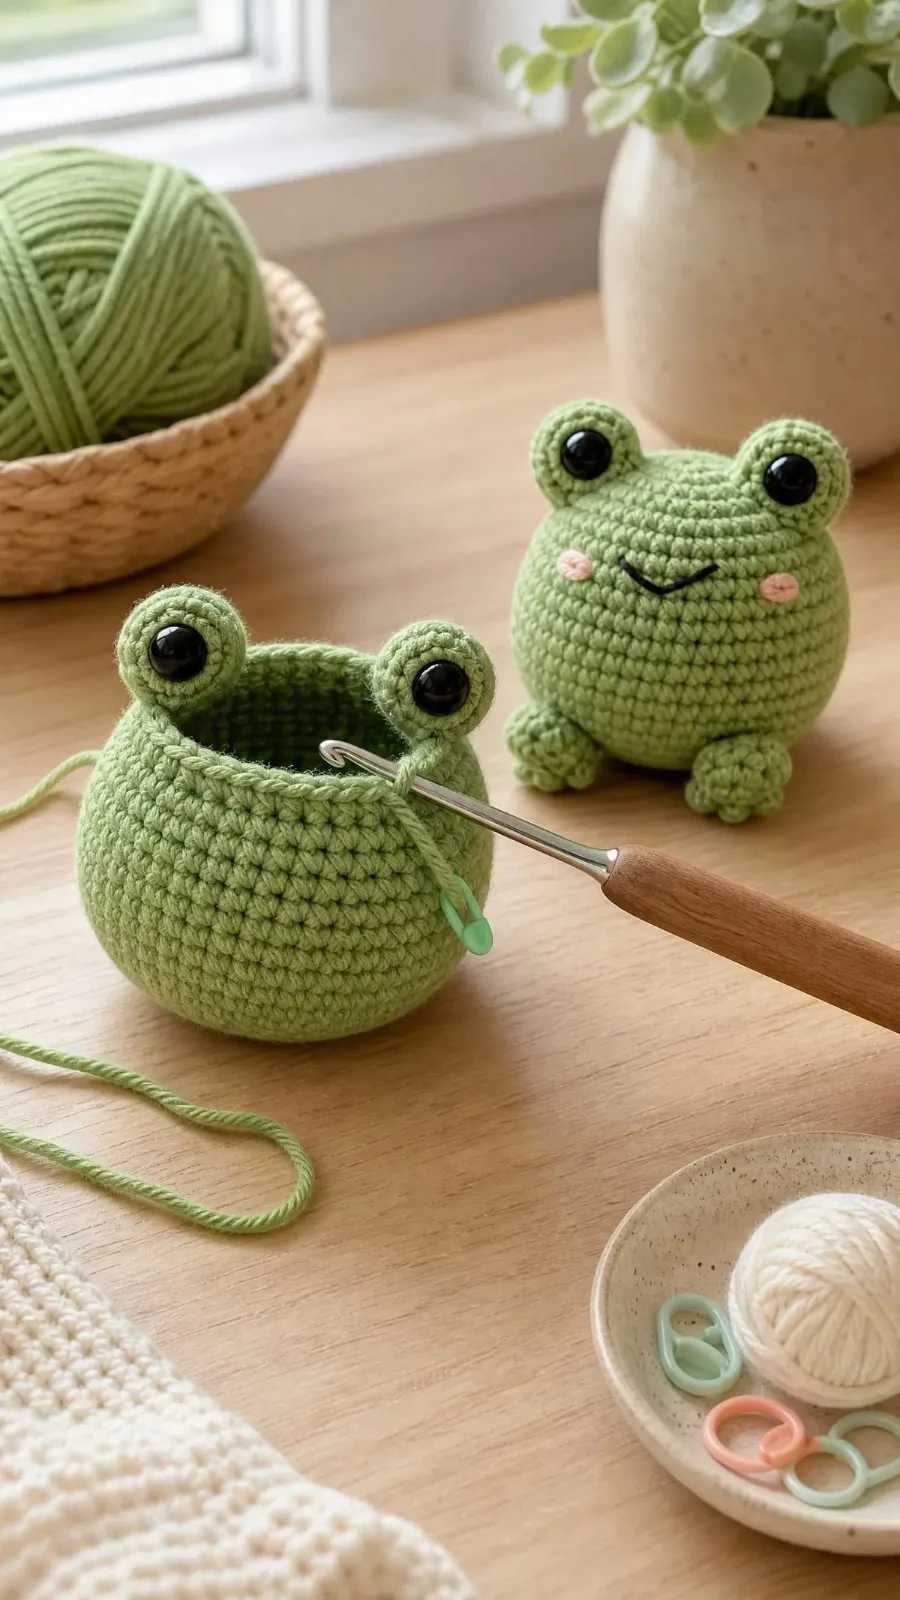
Crochet Frog: The Free Sitting Frog Pattern Everyone Wants
Crochet Bee: A Free Beginner Amigurumi in One Hour
Leave a comment