How to Make a Slip Knot for Crochet (2 Easy Ways)
The slip knot is the first step of almost every crochet project. Two easy methods — around your fingers and the "pretzel" — which end to pull, how tight it should be, and what to do next.

Pattern at a glance
US terms- Skill level
- Beginner
- Yarn
- Any yarn — worsted (#4) is easiest to see
- Hook
- 5 mm (H-8)
- Time
- About 2 minutes
- Finished size
- One knot
You'll need
- Worsted (#4) yarn in a light colour
- 5 mm (H-8) hook
In this post
A slip knot is an adjustable loop that attaches the yarn to your hook. Make a loop, pull the working yarn (the end attached to the ball) through it, put the new loop on the hook, and tighten by pulling the working yarn. It should slide up and down the hook easily but not fall off. Almost every crochet project starts with one, followed by a chain.
The rest of this post is just below — free, as always.
Method 1: around your fingers
- Leave a 6-inch tail. Drape the yarn over the first two fingers of your non-dominant hand, with the tail hanging in front.
- Wrap the working yarn (ball end) around both fingers and cross it over the tail, making an X on the front of your fingers.
- Push the hook (or your finger) under the first strand, catch the working yarn behind it, and pull it through as a loop.
- Slide your fingers out, put the new loop on the hook and pull the working yarn to tighten.
Method 2: the pretzel
- Make a loop by crossing the working yarn over the tail.
- Fold the working yarn behind the loop so it shows through the middle — it looks like a pretzel.
- Insert the hook through the loop, under the strand in the middle, and lift it up.
- Pull both ends gently to form the knot, then pull the working yarn to snug it onto the hook.
Check your slip knot
| Check | Right | Fix |
|---|---|---|
| Which end adjusts? | Pulling the working yarn tightens the loop | If the tail tightens it, the knot is reversed — it still works, but remake it so the tail stays still |
| Tightness | Slides on the hook, doesn't fall off | Loosen by pulling the loop up with the hook |
| Tail | About 6 in, enough to weave in | Leave more for amigurumi or seaming |
What comes next
- Chain: Yarn over and pull through the loop on the hook. That's one chain. The slip knot doesn't count as a stitch.
- First row: Learn single crochet, or skip the chain with foundation single crochet.
- In the round? Many amigurumi start with a magic ring instead of a slip knot.
The full beginner path is in how to crochet for beginners.
Common questions
Does the slip knot count as a stitch in crochet?
No. The loop on the hook never counts as a stitch, including the slip knot. Start counting from the first chain.
Which end of the yarn should I pull to tighten a slip knot?
The working yarn (attached to the ball). That way the tail stays put and the loop adjusts on the hook.
Can I start crochet without a slip knot?
Yes. A magic ring replaces it for work in the round, and some crocheters simply twist a loop onto the hook — but the slip knot is the most secure start.
Which method clicked for you? 🪢
Did you make this?
Tap a star to rate this pattern — it helps other makers find it.
Be the first to rate it!
YarnBloom
Crochet patterns & tutorials
YarnBloom shares cozy, beginner-friendly crochet patterns written in clear US terms, with a stitch count on every round and tips for the tricky bits. Grab your hook — let’s make something lovely.
You might also love
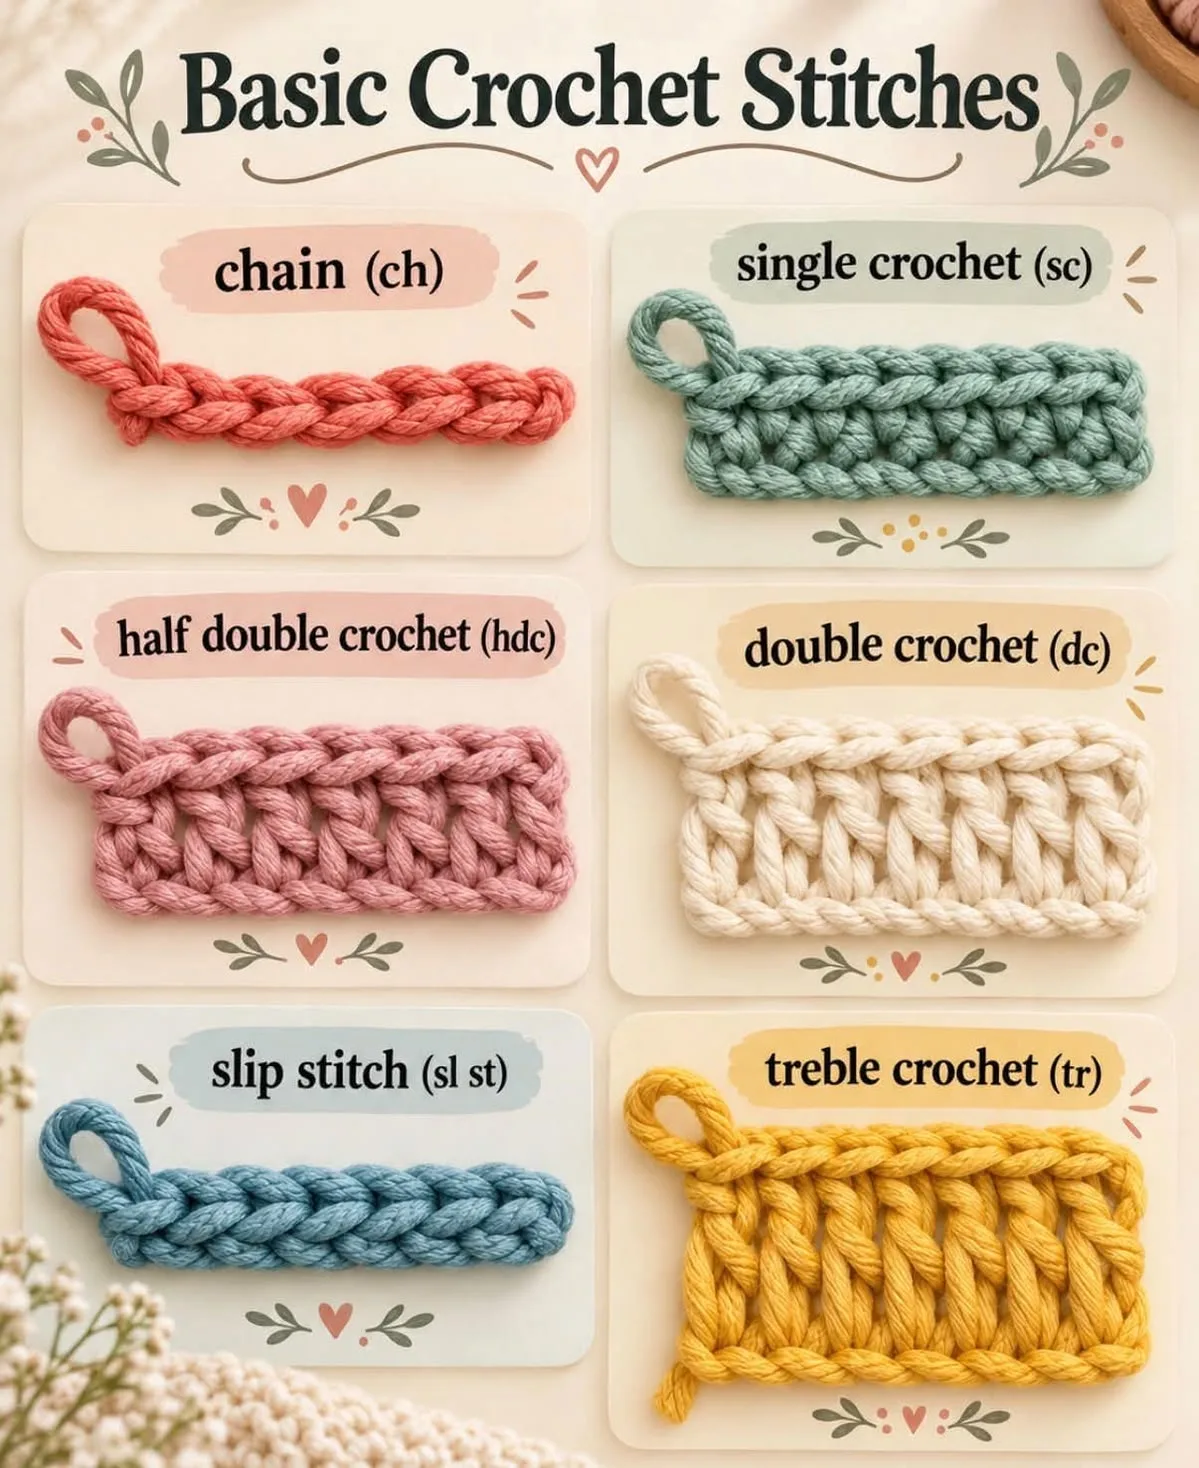
How to Crochet for Beginners: Your First Four Stitches
Hold the hook, make a slip knot, chain, and work your first rows of single and double crochet — a complete first lesson with the fixes for every beginner wobble.
How to Change Colours in Crochet (Without Messy Joins)
Switch on the last yarn over, not after the stitch — that one habit gives clean colour changes in rows, rounds and stripes. Plus carrying, cutting and hiding the jog.
Crochet Hook Sizes: The Complete Chart (mm, US and UK)
Every crochet hook size in millimetres with its US letter and UK number, which yarn weight each one suits, and how to pick a hook when a pattern gives none.
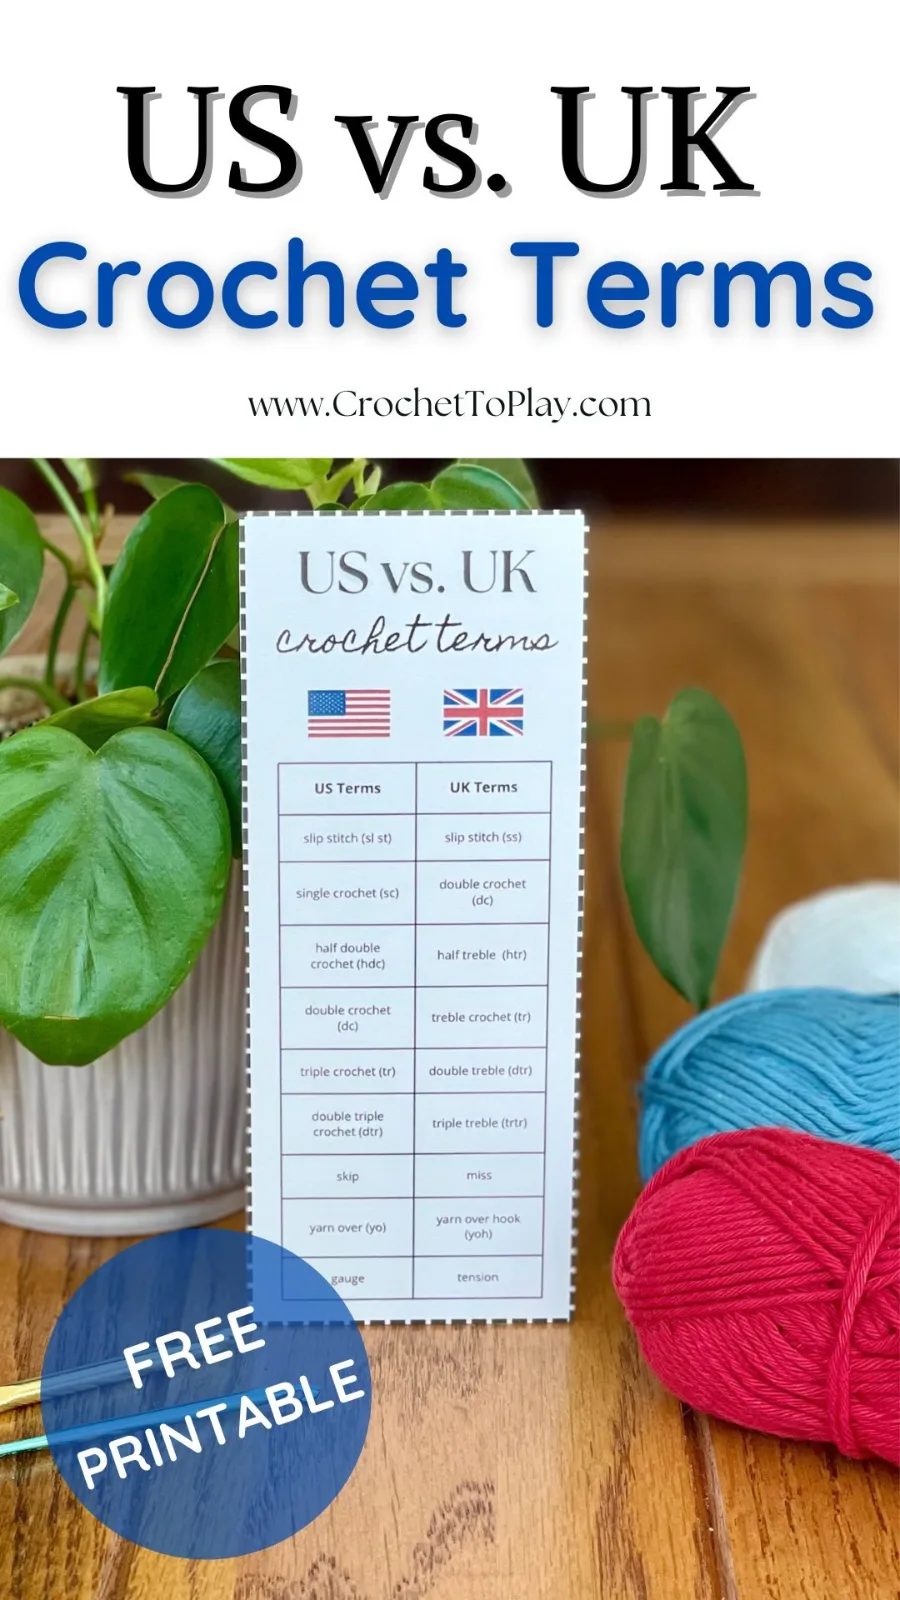
How to Read a Crochet Pattern: US vs UK Terms Made Simple
Brackets, asterisks, stitch counts, turning chains and the US/UK trap that makes a pattern come out the wrong size — decoded with real examples.
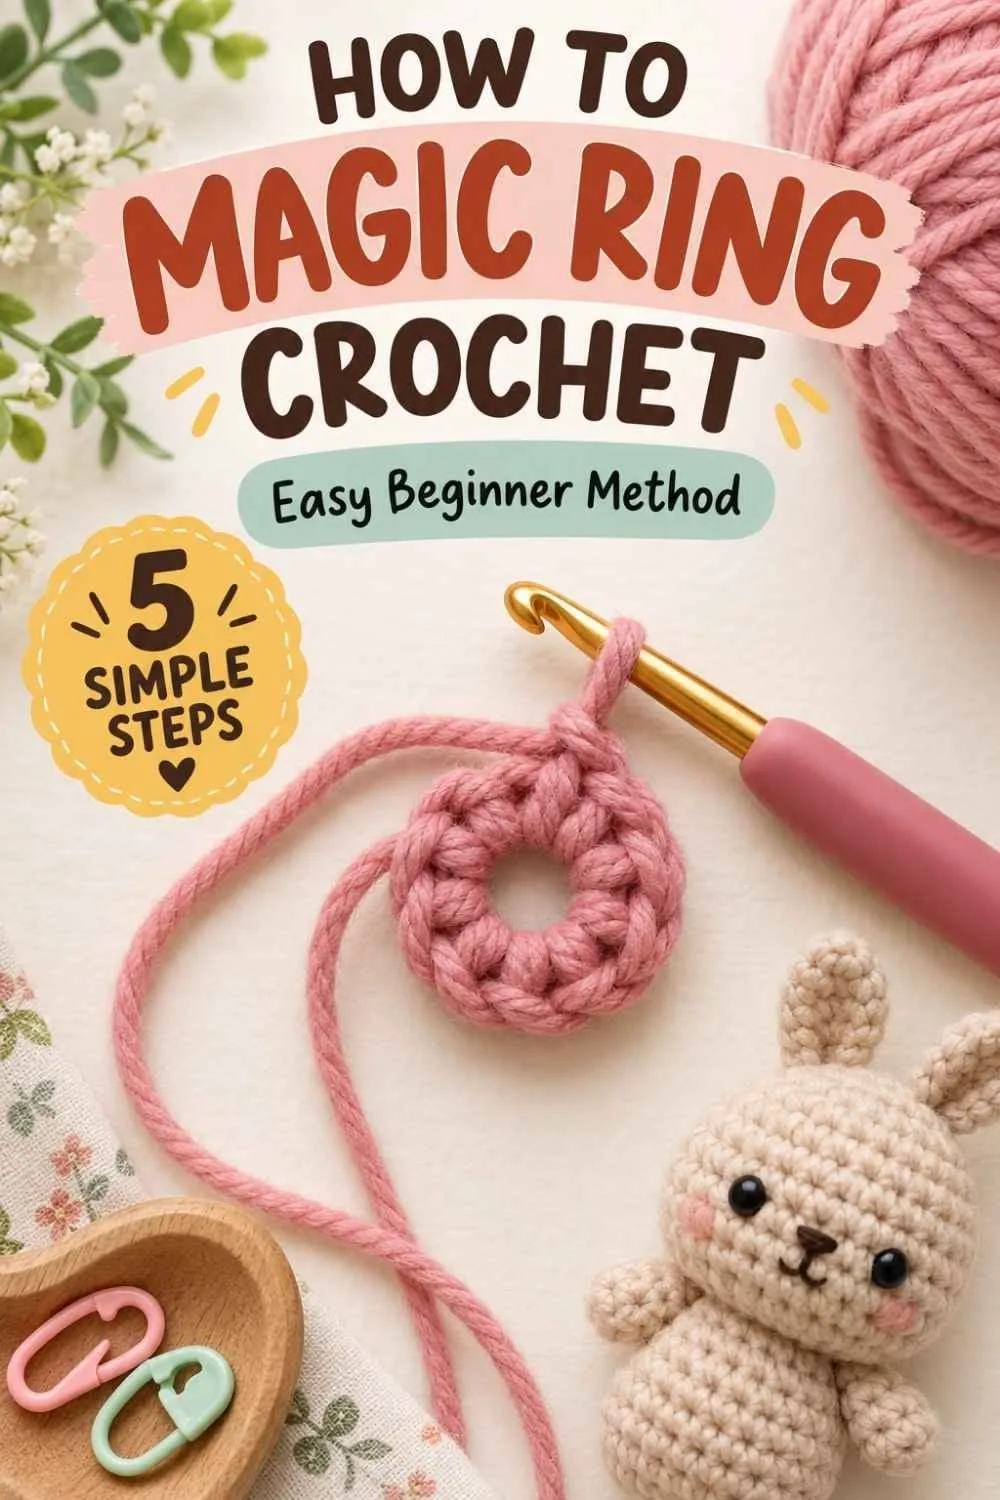
How to Crochet a Magic Ring (and Stop It Unravelling)
The adjustable ring that starts almost every amigurumi, in six clear steps — plus the knot that stops it ever working loose, and what to do instead if you hate it.
How to Weave in Ends in Crochet So They Never Pop Out
Leave a 6-inch tail, weave in three directions and split the plies on the way back. The secure, invisible way to weave in ends — for blankets, garments and amigurumi.
15 Easy Crochet Patterns for Beginners (in the Order to Learn Them)
Fifteen free beginner crochet patterns arranged as a learning path — each one adds exactly one new skill, from your first dishcloth to your first blanket.
50 Crochet Ideas: What to Crochet Next (Sorted by Mood)
Stuck on what to make? Fifty crochet ideas sorted by mood — quick wins, cozy makes, gifts, decor, wearables and challenges — each with a free pattern to start tonight.
Leave a comment