How to Attach Safety Eyes to Amigurumi (Placement and Spacing)
Safety eyes go in before you close the piece: push the post through between two stitches, then press the washer on from the inside until it clicks. Where to place them, how far apart, which size to use, and when to embroider instead.

Pattern at a glance
US terms- Skill level
- Easy
- Time
- 10 minutes
You'll need
- Safety eyes with washers
- Stitch markers or pins
- Your amigurumi head, not yet closed
In this post
Attach safety eyes before you stuff and close the head. Push the eye's post through the fabric between two stitches (not through a stitch), then press the washer onto the post from the inside, flat side against the fabric, until it clicks and holds tight. Mark the positions with stitch markers first, check them from the front, and only then fix the washers — they're very hard to remove.
The rest of this post is just below — free, as always.
Step by step
- Crochet the head to a few rounds past the widest point, but don't close it.
- Mark: Put two markers where you want the eyes, between stitches on the same round.
- Check: Look from the front, stuff loosely to see the shape, and move markers until it looks right.
- Insert: Push each eye post through the gap between stitches, from outside to inside.
- Lock: Inside the head, press the washer onto the post, flat side towards the fabric, until it clicks firmly.
- Finish stuffing and closing the head.
Placement and size guide
| Head size (sts in widest round) | Eye size | Gap between eyes |
|---|---|---|
| 24 | 6 mm | 3–4 stitches |
| 30 | 8–9 mm | 4–6 stitches |
| 36 | 9–10 mm | 6–7 stitches |
| 42+ | 12 mm | 7–9 stitches |
- Lower and wider eyes look cuter and younger.
- Higher and closer eyes look older or more realistic.
- Place eyes on the same round, counting the stitches between them.
When not to use safety eyes
For babies and toddlers, embroider the eyes with black yarn or use felt — safety eyes can be a hazard if a child works one loose. See the no-sew bunny and teddy bear for embroidered options. Tiny minis need beads or French knots: mini amigurumi.
Common questions
When do you put safety eyes in amigurumi?
Before stuffing and closing the head, while you can still reach inside to fix the washer.
Can I remove a safety eye after the washer is on?
It's very hard. Some can be cut off carefully, but the fabric may be damaged. Always check the placement first.
Are safety eyes safe for babies?
They're not recommended for children under 3. Embroider the eyes instead.
Cute low eyes or realistic high eyes? 👀
Stuck on a step? Crochet Help & Fixes answers the most common problems — curling, shrinking, wavy circles and more.
Did you make this?
Tap a star to rate this pattern — it helps other makers find it.
Be the first to rate it!
YarnBloom
Crochet patterns & tutorials
YarnBloom shares cozy, beginner-friendly crochet patterns written in clear US terms, with a stitch count on every round and tips for the tricky bits. Grab your hook — let’s make something lovely.
You might also love
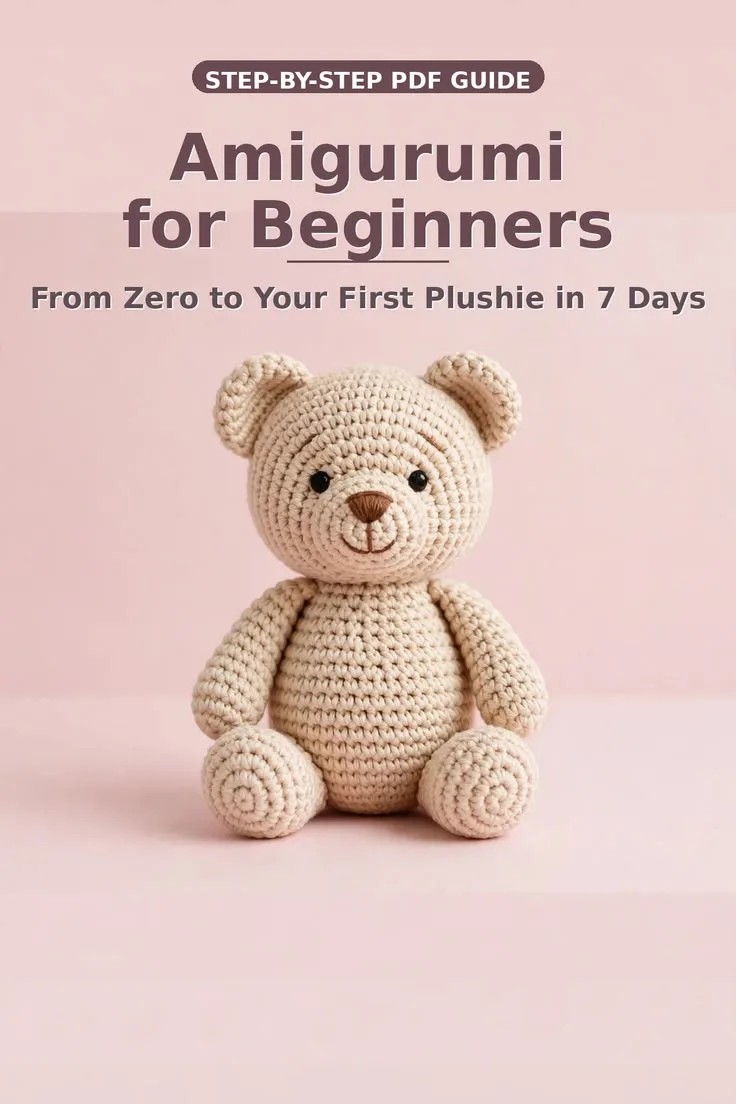
Amigurumi for Beginners: 10 Rules for Neat Crochet Toys
Spirals, stitch markers, invisible decreases, stuffing that doesn’t go lumpy and safety eyes that sit straight — everything that separates a tidy amigurumi from a wonky one.
Crochet Bee: A Free Beginner Amigurumi in One Hour
A round, stripy little bee with felt-free crocheted wings — no separate head, no arms, no legs. Just one body, two wings and a lot of charm.
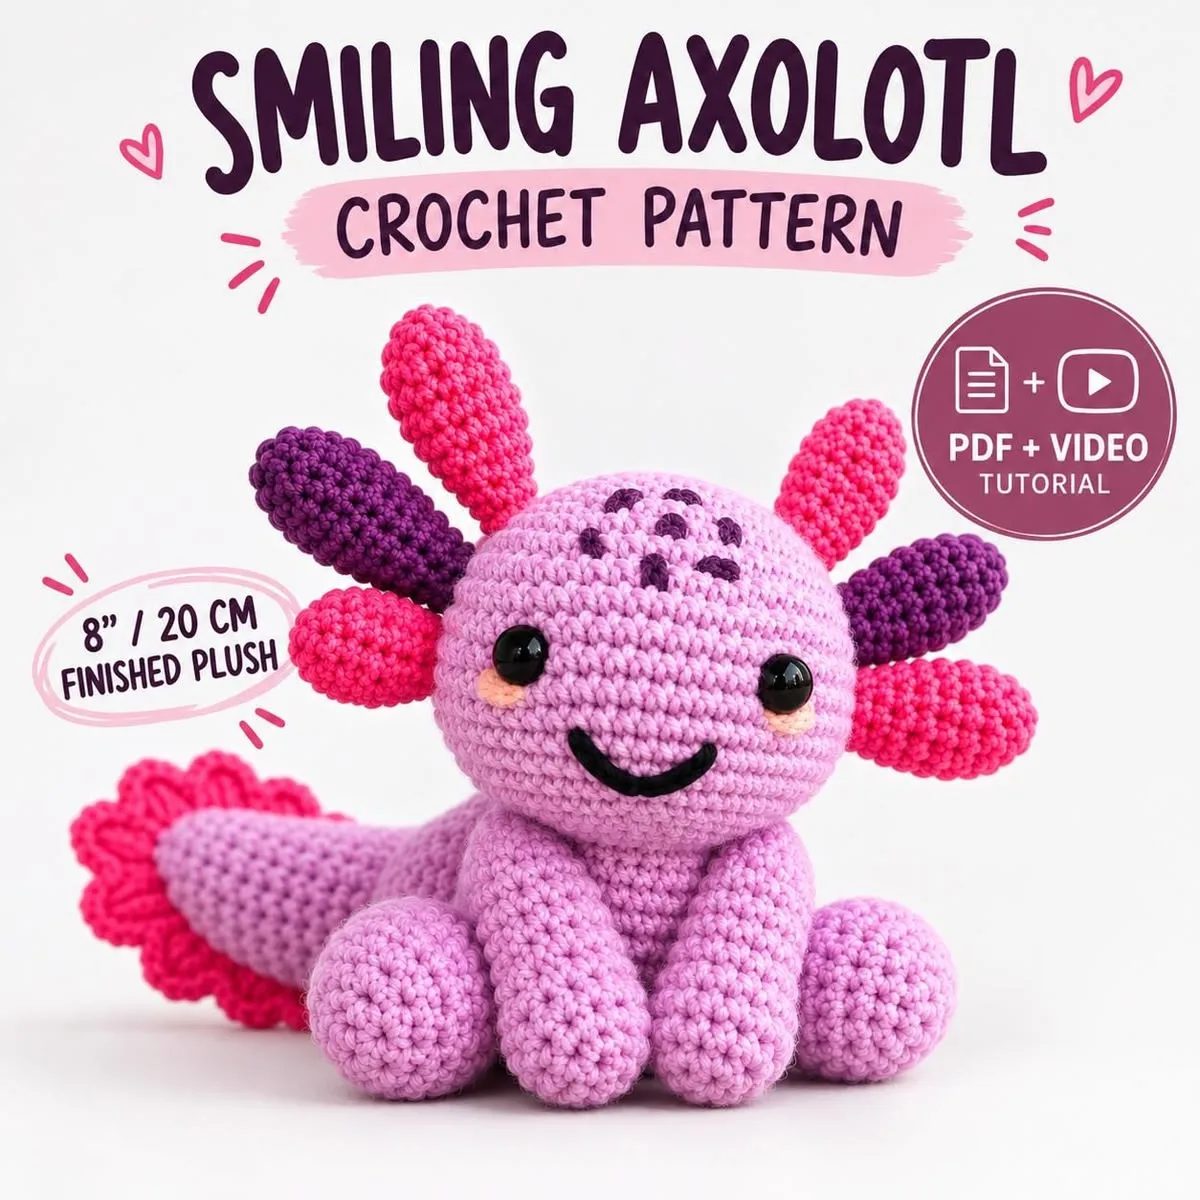
Crochet Axolotl: Free Amigurumi Pattern with Frilly Gills
A pink axolotl with six feathery gills, stubby legs and a flat paddle tail — the trickiest-looking part is six tiny chains, and we walk through all of them.
Crochet Mushroom: Free Pattern for a Spotted Toadstool
A red-capped toadstool with a cream stalk and little white spots — the cottagecore classic, worked in two pieces and joined with one round.
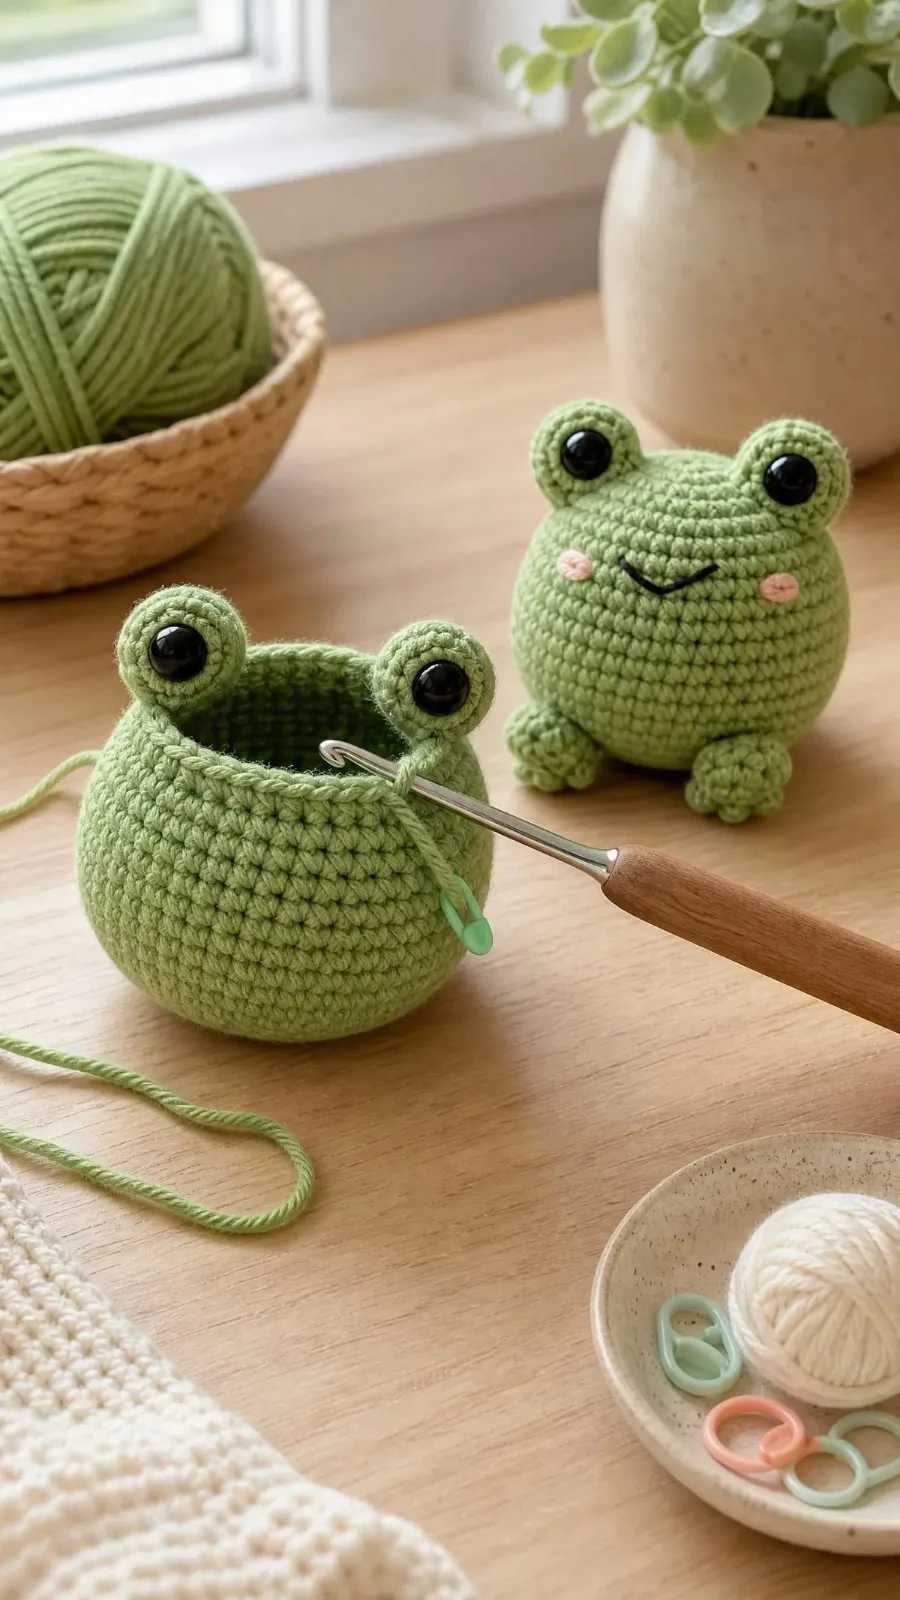
Crochet Frog: The Free Sitting Frog Pattern Everyone Wants
The little green frog that took over the internet — a one-evening amigurumi with a round body, long back legs and a very smug expression.
No-Sew Amigurumi: How to Crochet Toys Without Sewing (Plus a No-Sew Bunny)
Hate sewing parts together? Learn the five no-sew techniques — one-piece construction, crocheting limbs on as you go, joining parts with stitches, bobble legs and safety eyes — then make a no-sew bunny in about 1½ hours.
Crochet Penguin Pattern: A Round Winter Penguin With a Scarf
An egg-shaped black penguin with a white belly patch, an orange beak and feet, little wings and a cozy scarf. A perfect winter amigurumi and holiday gift.
Crochet Dinosaur: A Cute Stegosaurus with Back Spikes
A chunky little dinosaur with a one-piece head and body, a curved tail, four stubby legs and a strip of spikes down its back. About 6 inches long — a favourite toy for little dino fans.
Leave a comment