How to Line a Crochet Bag (With or Without a Sewing Machine)
A lining stops stretching, keeps keys from poking through and makes a crochet bag look finished. Step-by-step: measuring, cutting, adding a pocket, boxed corners, attaching by hand, and adding a zip or magnetic snap.

Pattern at a glance
US terms- Skill level
- Easy
- Yarn
- None — the finished crochet bag
- Hook
- None
- Time
- About 1½ hours
- Finished size
- Fits any bag
You'll need
- Cotton, canvas or quilting fabric
- Fusible interfacing (optional, for structure)
- Sewing needle and strong thread, or a sewing machine
- Pins or clips
- Zip or magnetic snap (optional)
- Fabric scissors and a ruler
In this post
To line a crochet bag, sew a fabric bag the same shape as the crochet, drop it inside wrong sides together, fold the top edge under and hand-stitch it to the inside of the crochet. The lining takes the weight, so the crochet doesn't stretch; small items can't poke through; and the inside looks finished. You can do the whole thing by hand in about 90 minutes.
The rest of this post is just below — free, as always.
Step by step
- Measure the bag: Lay the finished bag flat. Measure the width, the height, and the base depth if it has one. Measure the inside, and don't stretch the crochet.
- Cut: Cut two fabric pieces: width + 1 in by height + 1½ in (½ in seam allowance on each side and the bottom, 1 in at the top to fold under). For a bag with a base, add the base depth to the height.
- Pocket (optional): Cut a rectangle 7 × 6 in. Fold the top edge over twice and stitch. Press the other edges under ½ in and stitch it to one lining piece on three sides.
- Interfacing (optional): Iron fusible interfacing to the back of the lining pieces for a structured bag.
- Sew: Place the pieces right sides together and sew the sides and bottom with a ½ in seam. Backstitch every stitch by hand, or use a machine.
- Box the corners: If the bag has a base, flatten each bottom corner into a triangle and sew across it at half the base depth from the tip.
- Fold the top: Press the top edge ¾ in to the wrong side.
- Insert: Drop the lining into the bag, wrong sides together (seams hidden). Line up the side seams.
- Stitch in: Pin the folded edge just below the top of the crochet. Whipstitch or slip stitch it by hand, catching the back of the crochet stitches so nothing shows on the outside.
Adding a zip or snap
| Closure | When to add it | How |
|---|---|---|
| Magnetic snap | Before sewing the lining (step 4) | Fit the snap through the lining fabric with a small square of interfacing behind it |
| Zip | At step 9 | Sandwich the zip tape between the crochet and the folded lining edge, then stitch through all three |
| Button loop | After lining | Crochet it onto the top edge of the bag |
Which fabric?
| Fabric | Best for |
|---|---|
| Quilting cotton | Most bags; easy to sew, lots of prints |
| Canvas or duck | Totes and bags that carry weight |
| Laminated cotton | Makeup and wash bags (wipe clean) |
| Satin | Evening clutches |
Ready to try it? These bags all benefit from a lining: clutch, raffia tote, makeup bag, crossbody bag, tote bag and bucket bag.
Common questions
Do I need a sewing machine to line a crochet bag?
No. Backstitch the lining seams by hand with strong thread, and whipstitch it into the bag. It takes a little longer but is just as strong.
Should the lining be bigger or smaller than the bag?
The same size or very slightly smaller, so it sits smoothly inside without bunching. Measure the bag without stretching it.
Why line a crochet bag?
A lining stops stretching, keeps small items from poking through the stitches, hides the inside of colourwork, and makes the bag look professionally finished.
Floral, stripes or plain lining? 🧵
Did you make this?
Tap a star to rate this pattern — it helps other makers find it.
Be the first to rate it!
YarnBloom
Crochet patterns & tutorials
YarnBloom shares cozy, beginner-friendly crochet patterns written in clear US terms, with a stitch count on every round and tips for the tricky bits. Grab your hook — let’s make something lovely.
You might also love
Crochet Bag Strap: Strong, Non-Stretch Straps for Any Bag
How to crochet a bag strap that doesn't stretch: four methods ranked from strongest to quickest, with stitch counts, lengths for every bag style, and how to attach clasps so the strap is removable.
Crochet Phone Bag: A Slim Crossbody Pouch (Free Pattern)
A snug sleeve for your phone on a long strap — slim enough to disappear under a jacket, strong enough to trust on a night out.
Granny Square Tote Bag: A Free Crochet Pattern for Beginners
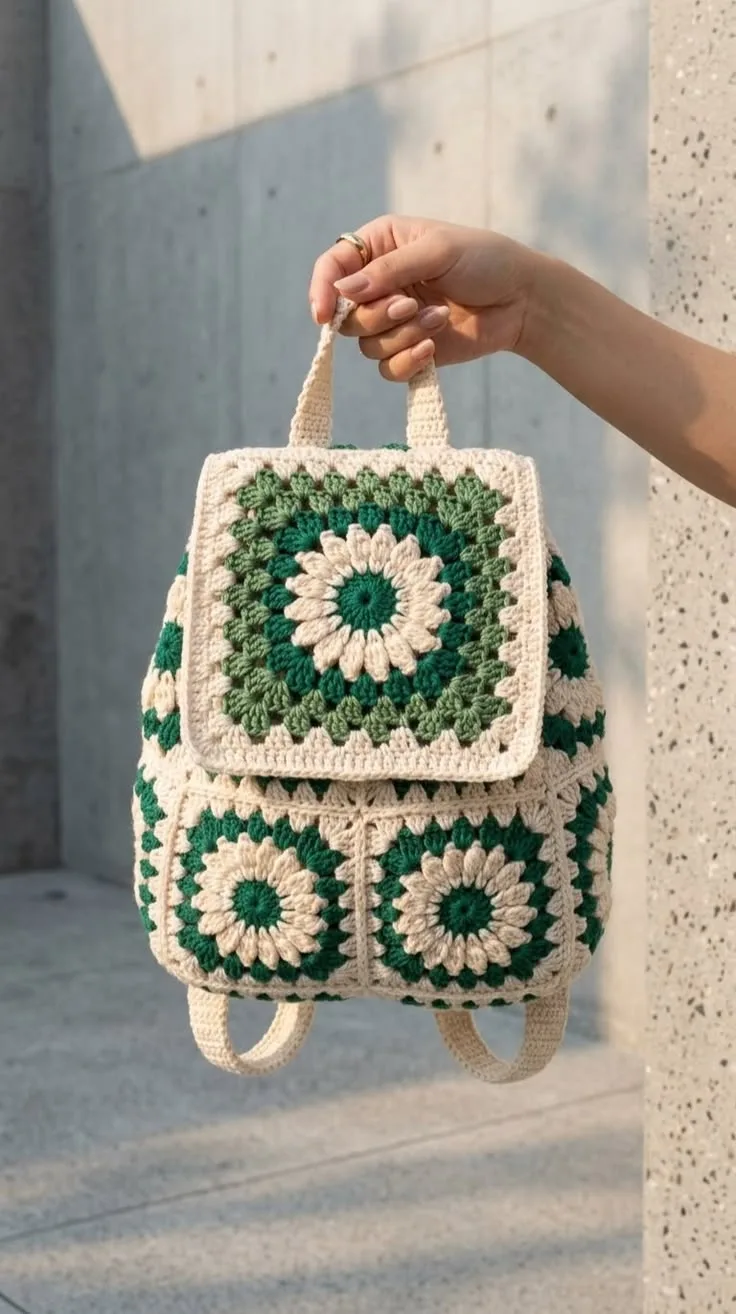
Eight classic granny squares, one simple edging and two built-in handles — no sewing on straps. A sturdy cotton tote you will actually carry every day.
Crochet Sling Bag: A Hands-Free Chest Bag with an Adjustable Strap
A teardrop-shaped sling bag worn across the chest or back, with a zip opening and a wide strap that adjusts with a slider. Sturdy single crochet in cotton; fits a phone, wallet, keys and a snack.
Crochet Crossbody Bag: A 9-Inch Everyday Bag in Moss Stitch
A flat, structured crossbody bag worked in rounds in moss stitch, so there are no side seams. Big enough for a phone, wallet, keys and sunglasses, with a zip or magnetic closure and an adjustable strap.
Crochet Messenger Bag: A Flap Bag with a Gusset-Strap
A sturdy messenger bag in three pieces: a back with a flap, a front, and one long strip that forms both the side gusset and the shoulder strap. Fits an A4 notebook or a small tablet.
Crochet Star Stitch Bag: A Textured Tote in the Marguerite Stitch
The star (marguerite) stitch makes a thick, puffy fabric of little stars — perfect for a bag that won't sag. Learn the stitch step by step on one flat rectangle, then fold, seam and add handles.
Crochet Seashell Bag: A Scallop Shell Purse with Ridged Fans
Two fan-shaped panels with raised ridges, like a scallop shell, joined around the curve with a zip or snap at the top and a slim chain strap. A summer statement bag in about 4 hours.
Leave a comment